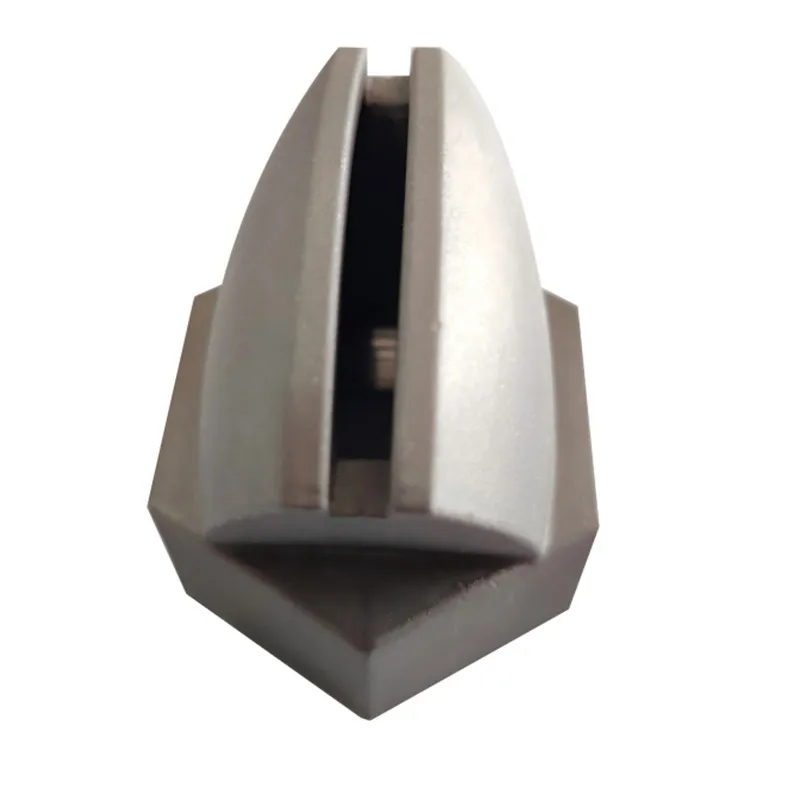
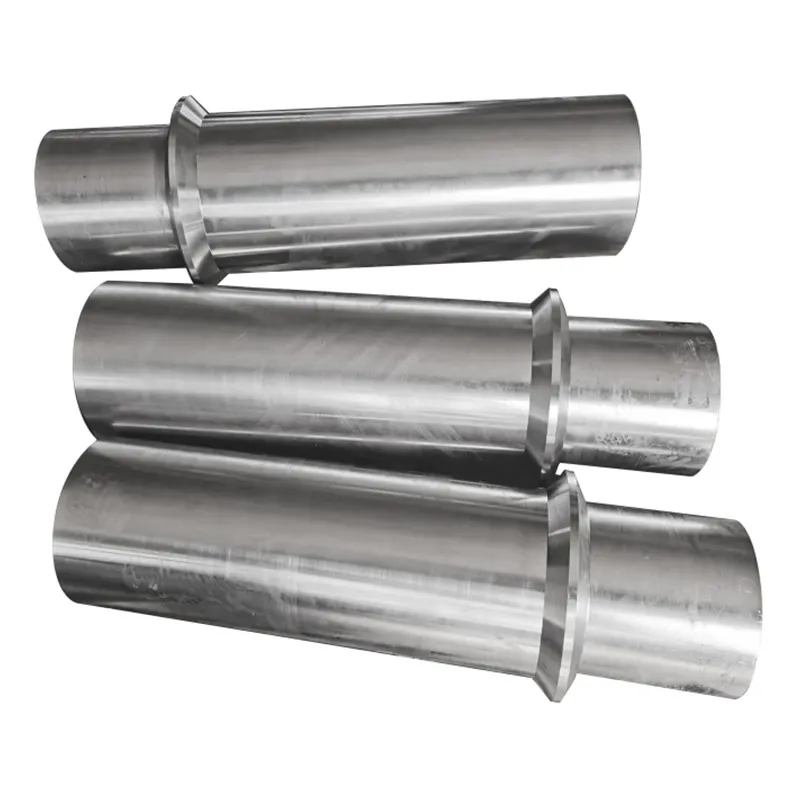
When people talk about lost wax casting, they often jump straight to the metal—the final pour, the finished steel or alloy part. But the real story, the one that determines if you get a usable casting or a costly scrap pile, starts much earlier. It starts with the wax. Specifically, with carving it. This isn't about artistic sculpting; it's engineering in a soft medium. The common misconception is that any wax model will do, that the process will fix minor imperfections. That's a fast track to failure. The wax pattern is the absolute positive; every flaw, every undercut, every inconsistent wall thickness gets faithfully reproduced in ceramic shell and then in molten metal. I've seen too many projects fail because someone treated the wax stage as a rough draft. It's the blueprint.
The Material Isn't Just Wax
You can't just grab a candle. For investment casting, we use a specific blend, often a mixture of natural and synthetic waxes, resins, and fillers. The composition determines everything: how it carves, how it holds detail, its melting point, and crucially, its ash residue after burnout. A wax that's too hard becomes brittle, risking cracks as you carve or as it cools from injection. Too soft, and it loses definition, deforms under its own weight, or gets marred by fingerprints. The suppliers like Freeman or M. Argueso have their proprietary formulas, and finding the right one is half the battle. We've settled on a medium-hard blue modeling wax for most manual pattern work—it has a good tooth for carving and doesn't gum up tools as easily.
Temperature control is a constant dance. Carve in a cold room, and the wax is brittle. In a warm shop, it gets tacky. I keep a heat gun on low nearby not to melt the piece, but to occasionally warm my tools or gently soften a specific area for a deeper cut. It's a tactile process. You learn to read the wax by the sound of the blade and the curl of the shaving. A clean, continuous curl means the temperature and tool sharpness are right. A powdery dust means it's too cold; a ragged, tearing cut means the tool is dull or the wax is too warm.
This is where experience from a long-standing operation matters. At a place like Qingdao Qiangsenyuan Technology Co., Ltd. (QSY), with their 30 years in casting, they understand that material science extends to the pattern shop. The wax selected for a stainless steel valve body will be different from that for a intricate cobalt-based alloy turbine blade. The thermal expansion coefficients must be considered to ensure the wax pattern shrinks in a predictable way, which is later compensated for in the mold design. It's a chain of precision, and the first link is wax chemistry.
Tools of the Trade: Beyond the Knife
Everyone pictures a scalpel or a set of dental tools. Those are essential, yes. But the real workhorses are often customized. I've modified countless spatulas and loop tools, bending them to specific angles to reach into the negative spaces of a master model. For reducing large volumes, a hot wire cutter is indispensable, but controlling it is an art—too hot and it melts a wide channel, too cool and it drags. You want it just hot enough to glide through with slight resistance.
Then there's the humble alcohol lamp. Not for lighting, but for finishing. A quick, skilled pass of the flame over a carved surface—kissing it—melts the microscopic tool marks and creates a flawless skin. This step is critical for achieving the as-cast surface finish specified on the drawing. But hold it a fraction of a second too long, and you lose sharp edges and fine detail. I've ruined more than one pattern by being impatient with the flame. It's a reminder that this is a subtractive process; you can't add material back.
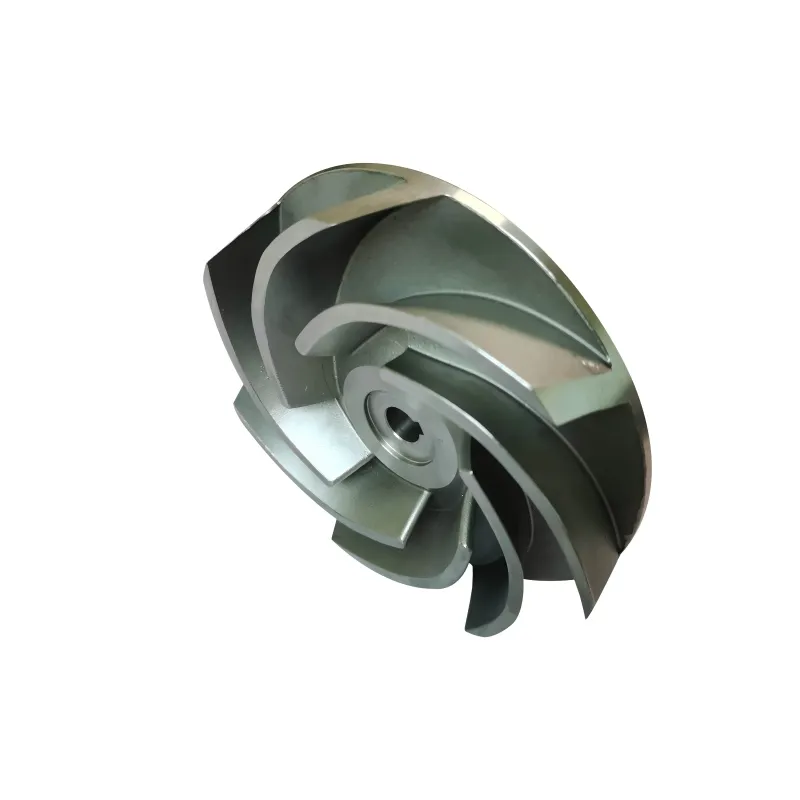
For complex geometries, especially when we need multiple identical wax patterns, we move to injection molding. But even then, the initial master—the one that creates the aluminum tooling die—is hand-carved. That master has to be perfect. Any sink, any draft angle oversight, gets multiplied. I recall a job for a pump impeller where the client's CAD model had a beautiful, aerodynamic blade profile. Carving that in wax to capture the subtle curves for the mold master was a week-long exercise in micro-adjustment and constant verification with profile gauges. The CNC machined aluminum mold derived from that wax master is what they now use for high-volume wax pattern production.
The Devil's in the Draft (and the Wall Thickness)
This is the most non-negotiable rule in patternmaking for casting: draft angles. Every vertical surface must have a slight taper to allow the pattern to be withdrawn from the mold, or in our case, for the ceramic shell to release during dewaxing. No draft means a shell fracture. It seems simple, but on complex parts with ribs and webs, maintaining a consistent, minimal draft (often as little as 1-2 degrees) while carving by eye and hand is a constant mental calculation. You're always holding the part at an angle, checking sight lines.
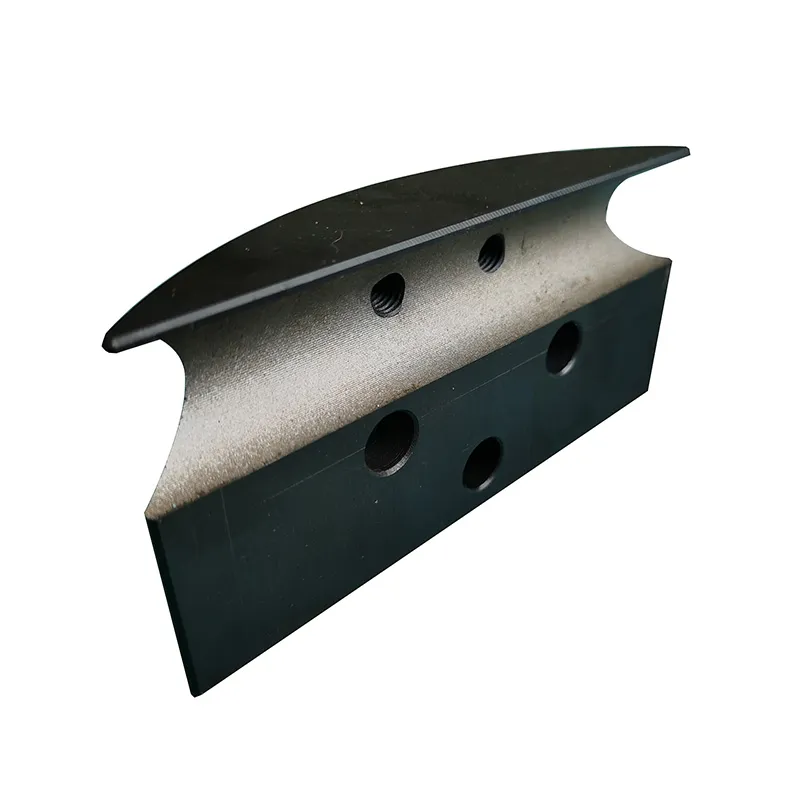
Wall thickness uniformity is another silent killer. A sudden thick section in the wax will become a hot spot in the casting, leading to shrinkage porosity as it solidifies last. When carving a wax pattern for, say, a housing, you're constantly measuring with calipers, ensuring transitions are gradual. The goal is to guide solidification from the thinnest sections toward the heaviest, which often requires adding wax feeders or risers later, but the base pattern must be sound. I learned this the hard way on an early project for a bracket. The casting looked fine but failed under load. Radiography revealed a spongy center right where my wax wall was a few millimeters thicker than the surrounding area. The metal knew, even if my eyes didn't.
Companies that specialize in investment casting, like QSY who handle everything from shell mold to CNC machining, have this principle baked into their process. Their engineers review the wax pattern design—even a hand-carved one—with wall thickness and thermal mass distribution as a primary concern, often before a single chip of wax is cut. It's a collaborative check that prevents fundamental flaws.
Assembly and Gating: The Unsung Geometry
Rarely is a finished casting just one wax pattern. Often, you carve components separately and then assemble them into a wax tree using heated tools and a special joining wax. This step is deceptively simple. A weak weld here means a component falls off during shell handling. Too much heat, and you distort the delicate features you just spent hours carving. The joint must be clean and strong, with no internal voids that could trap air or shell slurry.
Then comes gating—attaching the wax channels that will become the pathways for molten metal. This isn't just sticking on rods of wax. The diameter, length, and attachment angle of each gate directly controls the flow and solidification of the metal. A gate that's too small causes mistruns; one attached at a sharp angle creates turbulence and slag inclusion. We often use pre-formed wax runner bars and gates, but their placement is a judgment call based on the part's geometry. I sketch it out on paper first, visualizing the metal's path. There's a rule of thumb: gate into the thickest section. But with complex parts, sometimes you need multiple gates, which requires balancing flow. It's part fluid dynamics, part experience.
For high-integrity castings in special alloys like nickel-based or cobalt-based ones—exactly the materials Qingdao Qiangsenyuan Technology Co., Ltd. lists as a specialty—the gating design is even more critical. These alloys are expensive and often pour at extremely high temperatures. A poorly designed gating system on the wax tree doesn't just risk a defective part; it wastes thousands of dollars in material. The gating must promote laminar flow and progressive solidification toward a riser. That design intent starts as a sketch, then is physically realized in the wax assembly.
Failure is a Better Teacher Than Success
You don't truly understand wax until you've seen it fail. I remember a large, flat plate pattern we made. It carved beautifully, had perfect draft. We invested it, burned it out, and poured. The resulting casting was warped, like a potato chip. The cause? Internal stress in the wax from the original injection process that relaxed during the shell burnout, distorting the mold cavity. Now, for critical flatness, we either use a stress-relieved wax or design a slight counter-curve into the wax pattern, anticipating the distortion. It's a trick you won't find in a textbook.
Another classic: shell cracks during the autoclave dewaxing. The rapid steam heat causes the wax to expand violently. If the wax has a high filler content or the wrong melting characteristic, it can generate enough pressure to fracture the ceramic shell from the inside. The solution might be switching to a lower-expansion wax formula or modifying the dewaxing cycle—slower ramp, lower pressure. But you only go looking for that solution after you've heard the ping of a cracked shell and seen the ruined investment.
These failures are why the patternmaking stage cannot be isolated. It's integrated with the foundry process. A good pattern maker needs to understand what happens in the slurry room, the burnout furnace, and the pouring floor. That's the advantage of a full-service provider. When the pattern shop, shell building, and melting are under one roof, like at QSY, the feedback loop is tight. The guy carving the wax can walk over to the furnace and see what his work produces, and that knowledge informs the next carve. It turns isolated steps into a cohesive craft.
So, carving wax for lost wax casting. It's not a prelude to the real work. It is the real work. It's where the design transitions from digital abstraction or drawing into physical reality. Every decision made here—material choice, tool path, draft angle, wall thickness, gating—echoes through the entire process, culminating in a block of metal that is either a precision component or an expensive lesson. The wax holds no secrets; it reveals every strength and every lapse in judgment. And that's what makes it such a fascinating, demanding, and utterly critical discipline.