When most folks hear 'DIY metal casting', they picture a guy in a garage melting soda cans in a homemade furnace. That's the romanticized version, and honestly, it's where a lot of people start—I did too. But there's a massive gap between that and producing a functional, dimensionally accurate part that doesn't crack or have hidden porosity. The real craft isn't just about getting metal liquid; it's about controlling everything that happens before and after that moment. A lot of online tutorials skip the hard parts: pattern design, gating systems, managing shrinkage, and heat treatment. They make it seem like a weekend project, but to get consistent results, you need to think like a foundry, even on a small scale.
The Foundation: It Starts (And Often Fails) With the Pattern
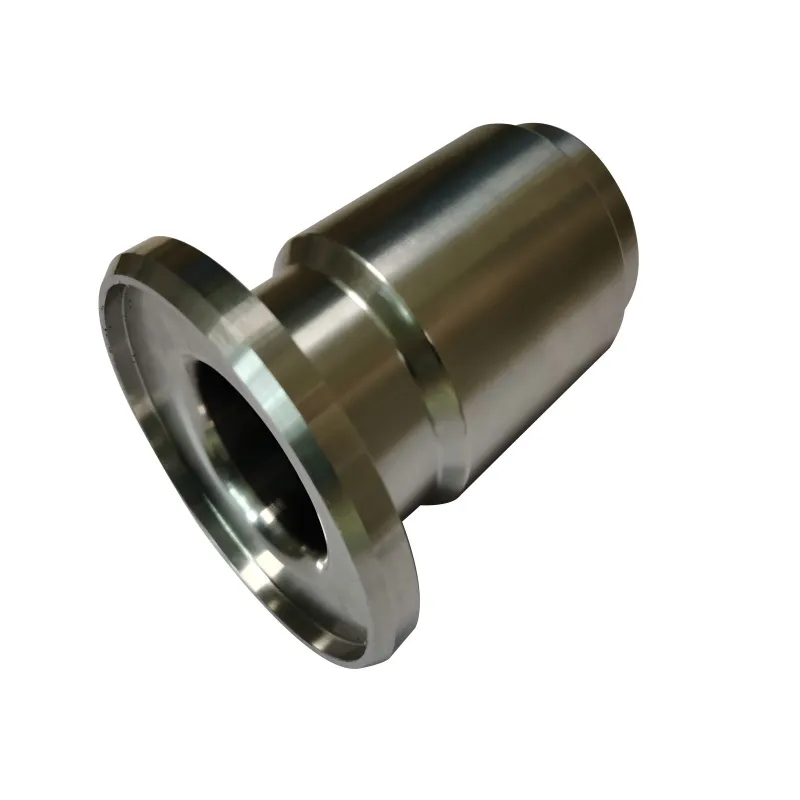
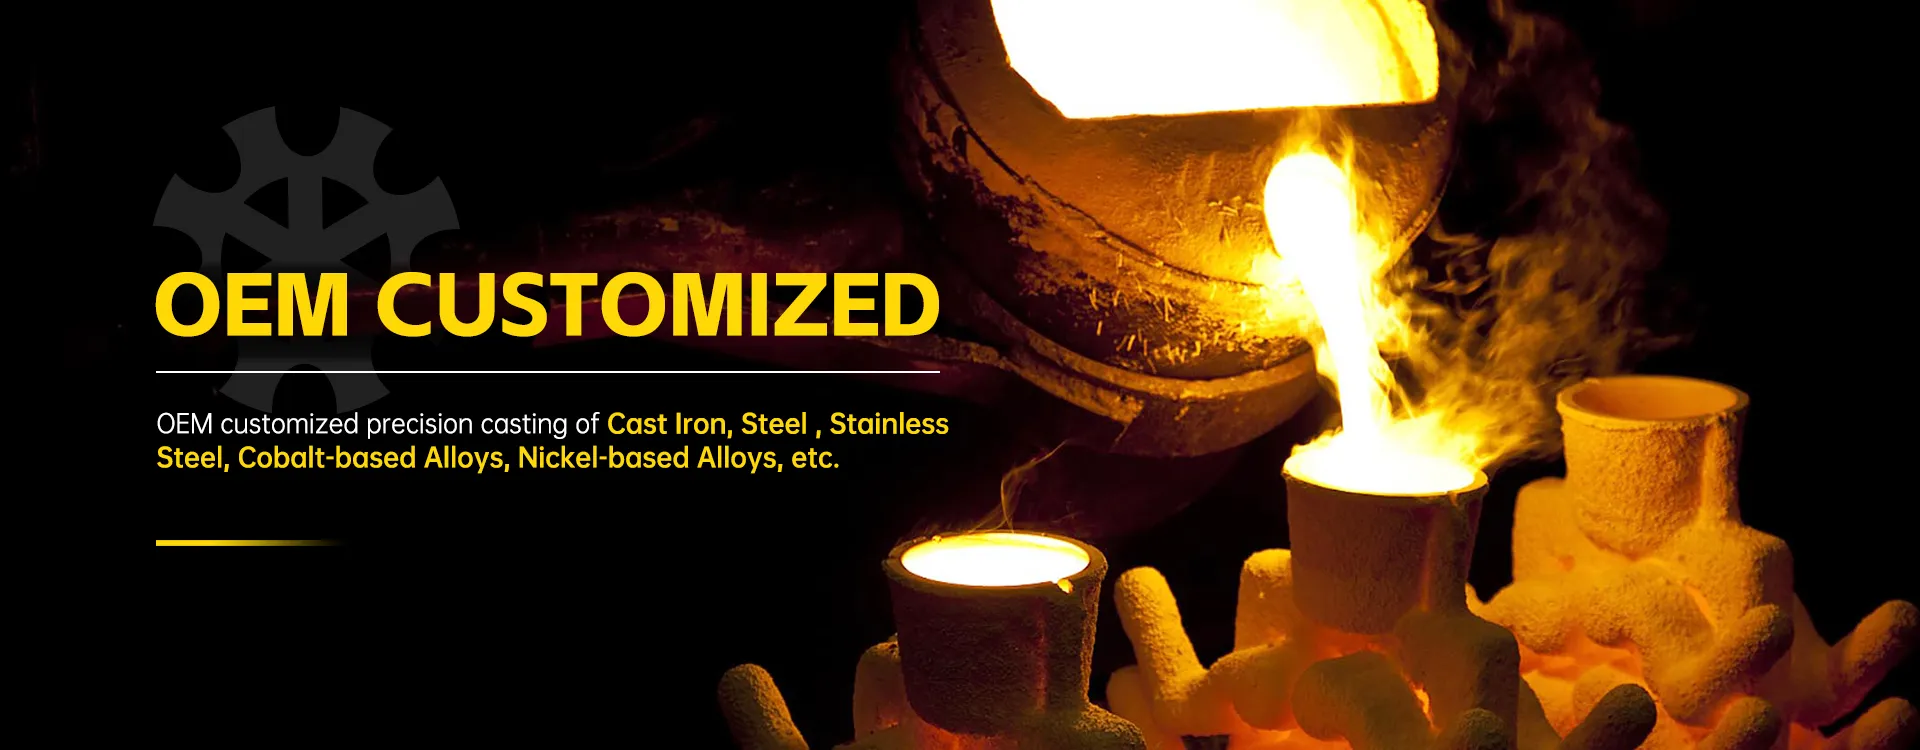
Your casting is only as good as your pattern. For sand casting, that means understanding draft, proper finishing, and material stability. I've wasted more hours than I care to admit carving intricate patterns from wood, only to have them warp with humidity or get hopelessly stuck in the sand during ram-up. Polystyrene foam for lost-foam casting seems like a shortcut, but controlling the burnout and the resulting gas defects is a whole other science. The pattern is the blueprint, and if it's off, everything downstream will be too. This is where you realize why professional outfits like Qingdao Qiangsenyuan Technology Co., Ltd.(QSY) use machined patterns or advanced mold-making techniques for their shell mold casting and investment casting work—precision at this stage eliminates a world of pain later.
Material choice for the pattern matters immensely. For a simple bracket, pine might work. For something with fine detail or needing multiple pours, a denser hardwood, urethane resin, or even metal is necessary. The thermal expansion coefficient of your pattern material can affect the mold cavity size, especially in resin-bonded sands. It's a detail most hobbyists never consider until they get a part that's a few millimeters undersized and wonder why.
Then there's the gating and risering system. This isn't just a channel for metal; it's a hydraulic and thermal control network. Pouring metal is not like pouring water. It cools, it shrinks, it traps air. I learned this the hard way with a small aluminum gear. I made a beautiful pattern, packed a greensand mold, and poured. The gear looked perfect... until I machined the surface and found a huge shrinkage cavity right in the tooth root. The metal solidified from the outside in, and the last place to solidify—the hottest spot—had no reservoir of liquid metal to feed it. That's what risers are for. Designing them correctly requires understanding the solidification characteristics of your specific alloy, something that comes from experience or deep study.
The Crucible of Melting: Alloys, Temperature, and Atmosphere
Melting is the dramatic part, but it's deceptively simple to do wrong. Aluminum isn't just one thing. Are you melting 6061 extrusions? 300-series soda cans? They have different silicon and magnesium contents, which drastically affect fluidity, shrinkage, and final strength. I once tried to cast a handle from melted down cans. The result was brittle, full of oxides, and prone to hot tearing. The impurity level in secondary aluminum is high, and without degassing and proper fluxing, you're just casting problems into the part.
Temperature control is critical. Too cold, and the metal won't fill thin sections. Too hot, and you increase gas absorption, oxidation, and the risk of burning out the sand mold (in greensand). A pyrometer is non-negotiable for anything beyond the most basic pours. For metals like cast iron or the special alloys (cobalt-based alloys, nickel-based alloys, etc.) that companies like QSY handle, atmosphere control becomes paramount to prevent oxidation and loss of critical alloying elements. Their industrial setups with induction furnaces and controlled environments are light-years away from a charcoal-fired crucible, and for good reason.
The pour itself is a moment of truth. It needs to be quick enough to avoid premature freezing but smooth and turbulent-free to avoid entrapping air and slag. I've seen more castings ruined by a poor pour than by a bad melt. The mindset shifts from pouring metal to filling a mold cavity in a controlled manner. It's a subtle but crucial difference.
Mold Materials: More Than Just Dirt
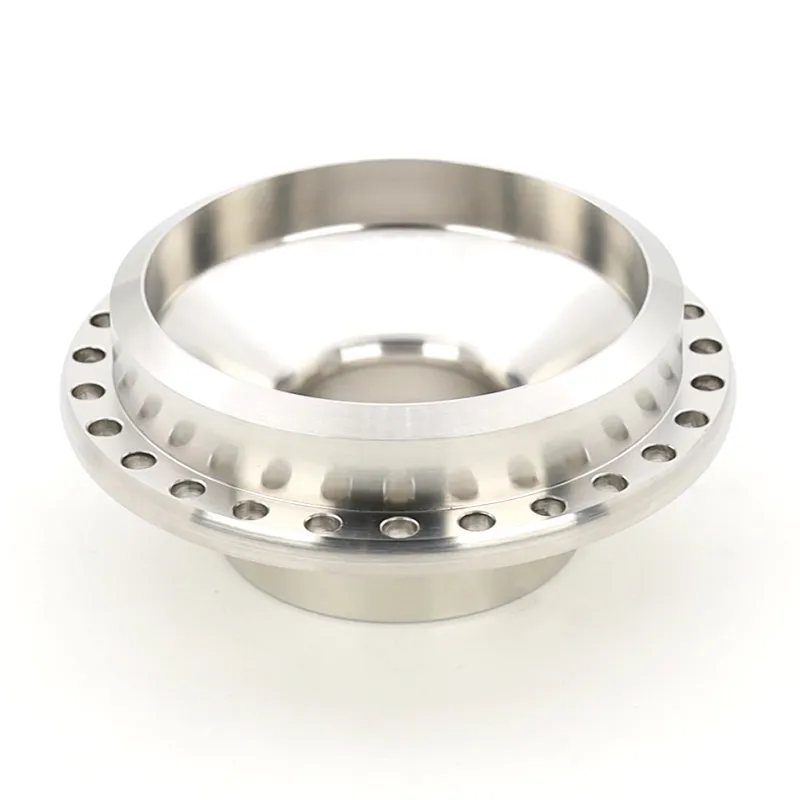
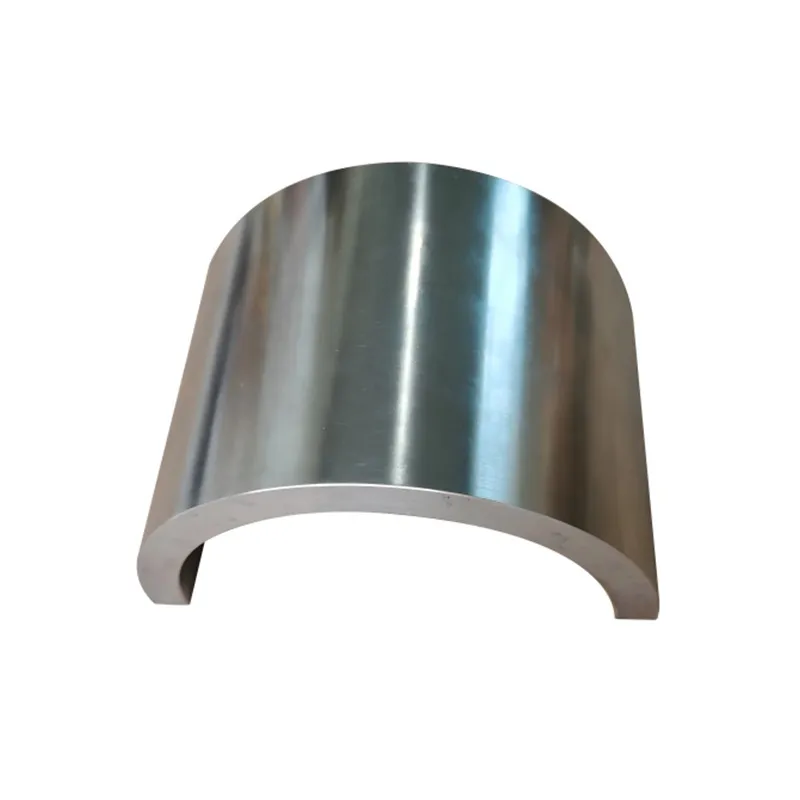
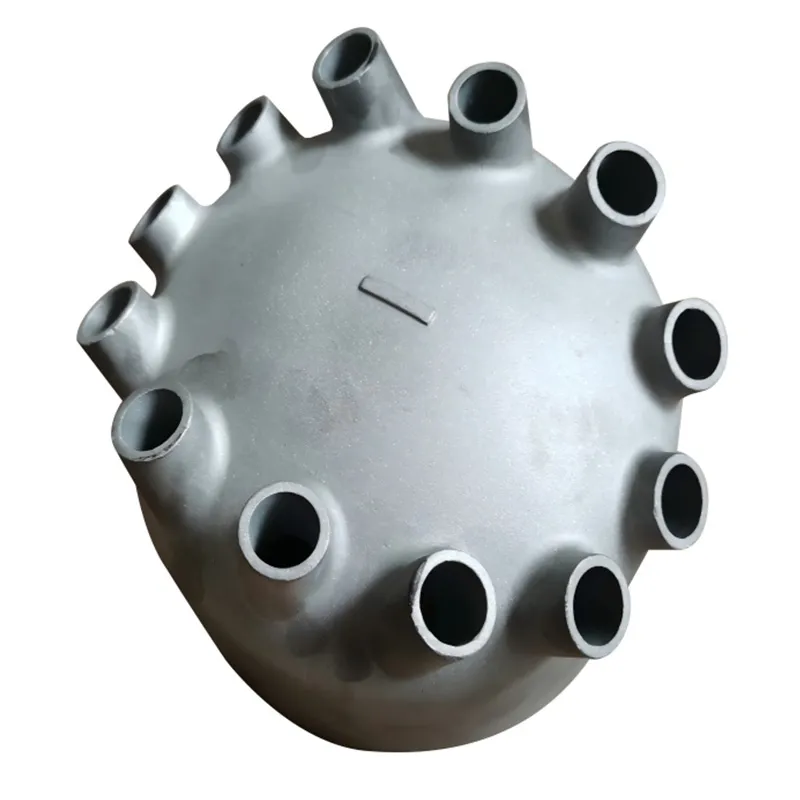
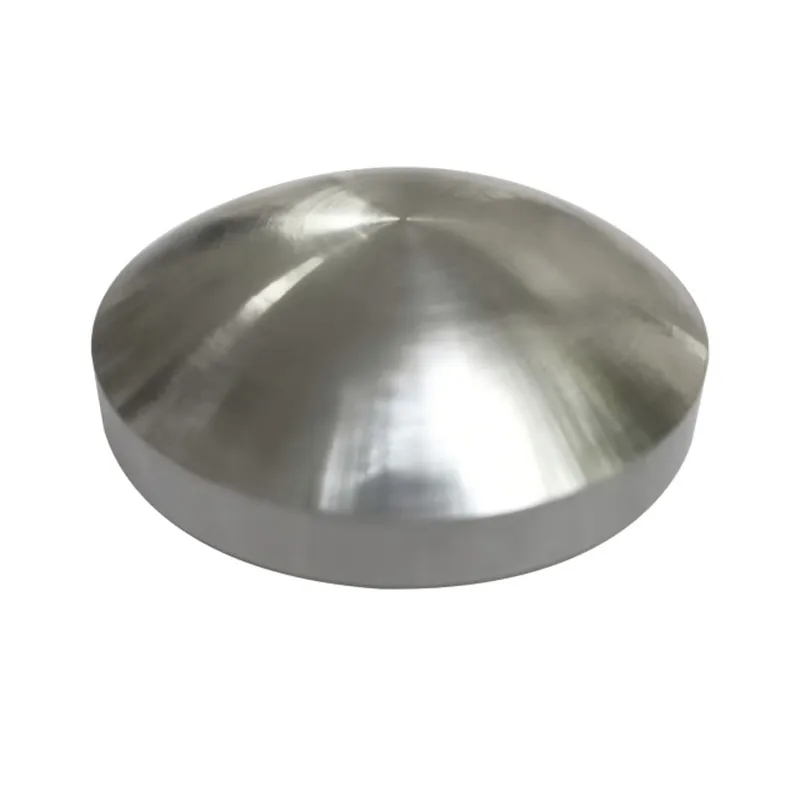
Greensand is the gateway drug. It's cheap, reusable, and forgiving. But its strength and thermal characteristics limit the detail and dimensional accuracy you can achieve. For finer features, you move to resin-bonded sands (like furan or phenolic), or into ceramic territory. Shell mold casting, a core process for QSY, uses a resin-coated sand that forms a thin, hard shell around the pattern. It gives excellent surface finish and dimensional accuracy, perfect for high-volume production of smaller parts. Trying to replicate that at home is tough—dealing with the hot pattern, the sand-resin mix, and the curing oven requires a dedicated setup.
Investment casting (lost-wax) is the king of detail. You can capture textures and undercuts that are impossible with sand. The DIY version uses plaster-silica mixes for the investment. The catch? Managing the expansion and contraction of both the wax pattern and the ceramic shell during dewaxing and firing. If they don't match, the shell cracks. Then, during the pour, the hot metal hits a cold ceramic shell, which can cause thermal shock. Preheating the mold is essential, but getting an even heat without cracking it is a delicate balance. It's a process of managing stresses at every single step.
Refractory coatings for furnaces and crucibles are their own rabbit hole. A cheap clay-graphite crucible will degrade fast with certain alloys, contaminating your melt. Lining a homemade furnace with the wrong refractory mix can lead to catastrophic failure—I've had one soften and slump during a melt, which is as dangerous as it sounds. The material science behind mold and refractory media is a discipline in itself.
When Things Go Wrong: The Reality of Defects
Shrinkage porosity, gas holes, cold shuts, inclusions, misruns, hot tears—the vocabulary of failure is extensive. Every defect tells a story about what went wrong in the process. A shiny, rounded hole inside the part? That's gas porosity, likely from moisture in the mold or dissolved hydrogen in the melt. An irregular, spongy cavity? That's shrinkage, a feeding problem. A visible seam on the surface where two metal fronts met but didn't fuse? That's a cold shut, meaning the metal was too cool or the pour was too slow.
Debugging these issues is where theory meets practice. It forces you to examine every variable: sand moisture content, mold hardness, pouring temperature, alloy composition, gating design. There's rarely one single answer. For instance, cold shuts could be fixed by increasing pouring temperature, but that might introduce gas problems. So maybe you need to redesign the gates to be larger or change their location to improve metal flow. This iterative, problem-solving aspect is the real heart of DIY metal casting. It's why the process is so addictive and so frustrating. You're not just making a part; you're engineering a temporary, disposable system (the mold) to create it.
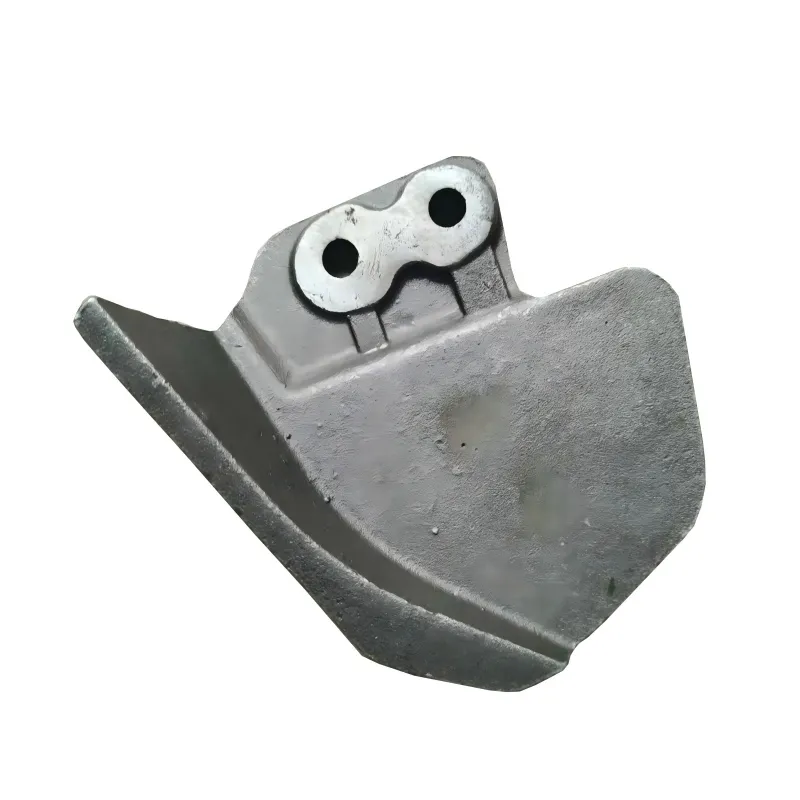
This is the stark difference between a hobbyist's one-off and industrial production. A company like QSY, with decades in casting and machining, has seen every possible defect and has standardized processes, quality checks, and post-casting CNC machining to correct minor deviations or add precision. Their work with cast iron, steel, stainless steel adds layers of complexity regarding melting points, fluidity, and shrinkage rates that most DIYers will never touch.
The Post-Casting Grind: Finishing is Part of the Process
The casting comes out of the mold, and the work is half done. You've got sprues, gates, and risers to cut off. Then there's grinding, sanding, and potentially heat treatment. Cutting off gates with an angle grinder is straightforward, but you have to be careful not to gouge the part or generate enough heat to alter the microstructure, especially in tool steels or alloys that air-harden.
Heat treatment is a black art for the uninitiated. Aluminum alloys like A356 need a solution heat treatment and aging (T6 temper) to reach their full strength. For steel, you might need to normalize, anneal, quench, and temper. Getting this wrong can make a seemingly perfect casting brittle or too soft. It requires a controlled kiln and knowledge of the time-temperature-transformation (TTT) diagrams for your specific alloy. Most DIY projects stop at the as-cast state, which for many parts is functionally fine but not optimal.
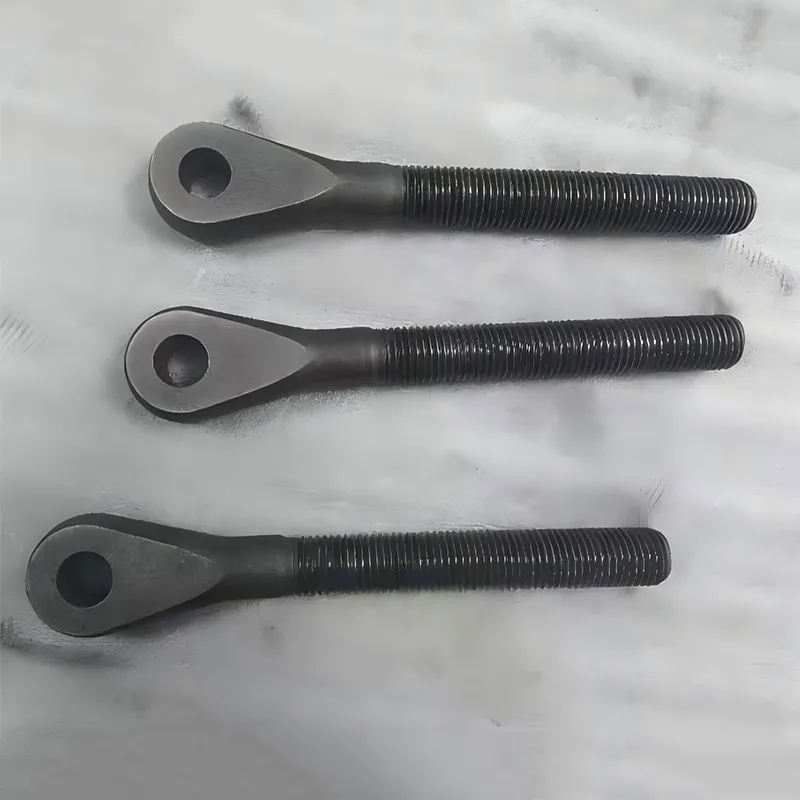
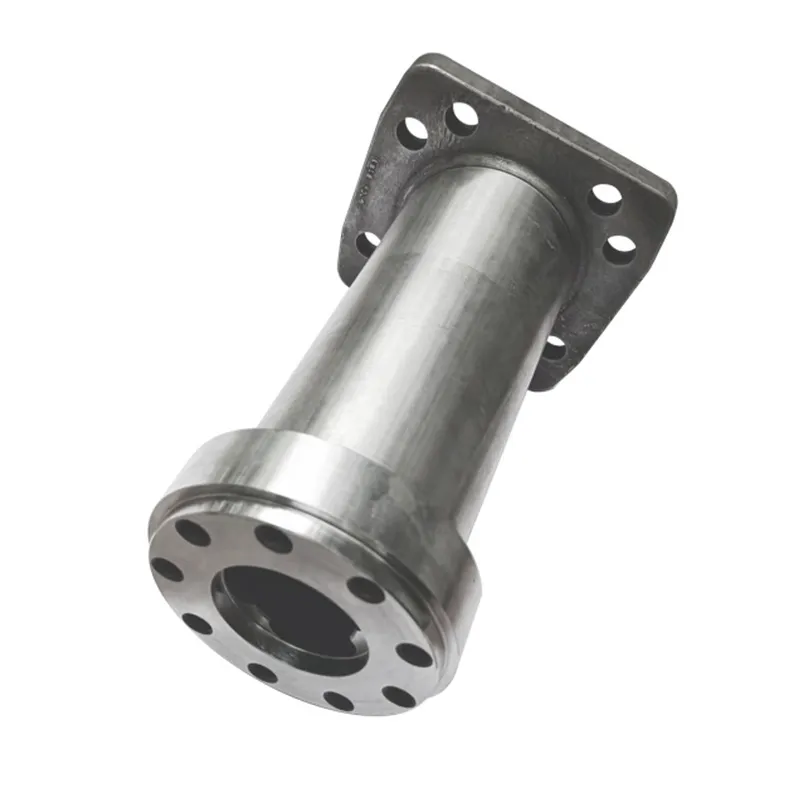
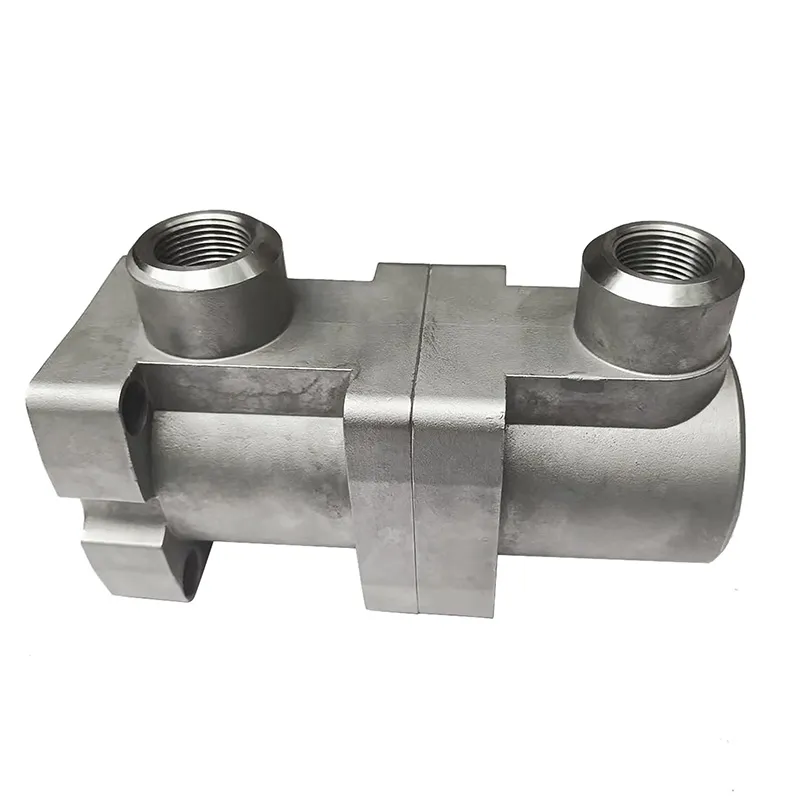
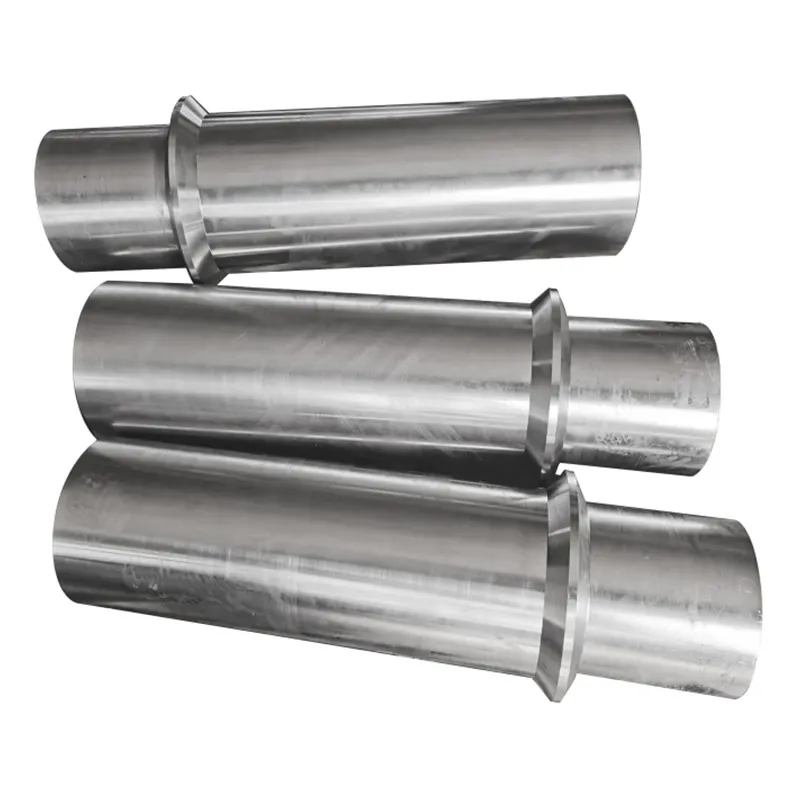
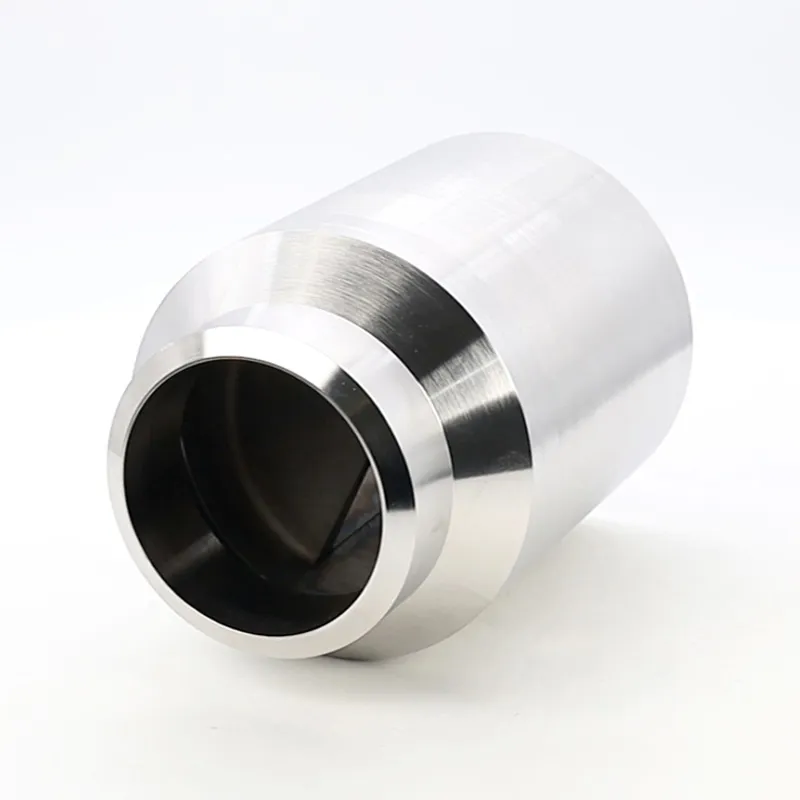
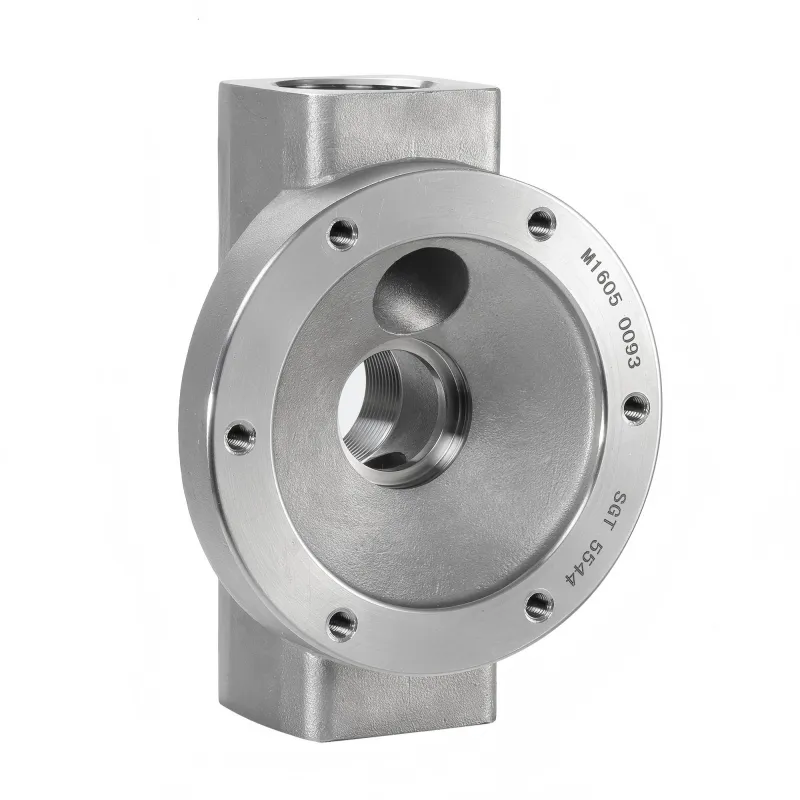
Finally, there's machining. Very few castings are net-shape. A bearing surface might need to be turned, holes might need to be drilled and tapped, or a mounting face might need to be milled flat. This is where the integration of casting and machining, as seen at a full-service provider's facility (you can see examples of their integrated approach at https://www.tsingtaocnc.com), is so powerful. They can design the part with machining allowances in mind from the start, cast it, and then finish it to precise tolerances in-house. For the DIY caster, this often means a second, equally deep dive into manual or CNC machining to make the casting truly usable.
So, DIY metal casting is a gateway. It starts with melting metal, but if you stick with it, it pulls you into materials science, fluid dynamics, thermodynamics, and mechanical design. It humbles you with failures and rewards you with the profound satisfaction of holding a complex, solid metal object that you created from raw materials and knowledge. The gap between a backyard pour and an industrial casting isn't just one of scale; it's a continuum of control, understanding, and refinement. And that's the real challenge—and the real fun—of it all.