When most people hear 'lost wax casting', they picture the final gleaming metal part—a turbine blade, a medical implant, a piece of intricate jewelry. What gets glossed over, almost always, is the mold. The ceramic shell that isn't the product, but without which the product simply doesn't exist. It's the negative space that defines everything. And there's a common, costly misconception that the wax pattern is the hard part. In my experience, that's where the real work hasn't even started yet. The mold is where the process is won or lost.
The Shell Game: It's All About Layers
Let's talk about the shell itself. It's not a single dip-and-dunk. It's a ritual. You start with the wax assembly—tree, clusters, whatever you're running. The first coat, the prime slurry, is the most critical. This is the interface that captures every single detail of your wax pattern. If you have a surface finish spec of Ra 3.2 or better, this coat determines if you'll hit it. I've seen shops use a zircon-based slurry for this first layer, especially for high-integrity parts like those in aerospace or medical. The refractory flour here is super fine, almost like flour you'd bake with. Any lumps? You'll see them later as nodules on the casting. Guaranteed.
The stuccoing process that follows each dip is another judgment call. The grain size of the stucco—fused silica, alumina, zircon sand—increases with each layer. The first stucco might be a 200-mesh, almost a dust, to preserve detail. By the fourth or fifth coat, you're using a coarser 30-50 mesh material to build thickness and strength for the dewax and pour. The rhythm is everything: dip, drain, stucco, dry. Repeat. The drying environment is a silent partner. Too humid, and the layers won't cure properly; the shell stays 'green' and weak. Too hot and dry, and you risk cracking from too-rapid solvent evaporation. I've had batches in a poorly controlled drying room come out with a sort of leathery skin that just spells trouble later.
And the number of layers? That's not from a textbook. A small bronze sculpture might get away with 5-6 layers. A nickel-based superalloy turbine blade pouring at 1500°C+? You're looking at 9, maybe 12 layers. You build until the shell has a certain heft, a certain dull sound when you tap it. It's a tactile thing. The goal is a shell that can survive the thermal shock of dewaxing (usually steam autoclave these days) and then hold back a river of molten metal without buckling or cracking. That's the entire purpose of the lost wax casting molds.
Dewaxing: The Moment of Truth
This is the first real test of your shell. All those meticulous layers are about to be flash-heated. The old flash-fire method is mostly gone—too messy, too stressful on the shell. Now it's high-pressure steam autoclaves. The principle is simple: rapidly heat the shell, melt the wax out from the inside. The execution is not. The rate of temperature and pressure rise is a recipe. Too fast, and the expanding wax can blow the shell apart from the inside like a grenade. Too slow, and the wax might melt and drain unevenly, leaving residue that will burn out later and cause defects.
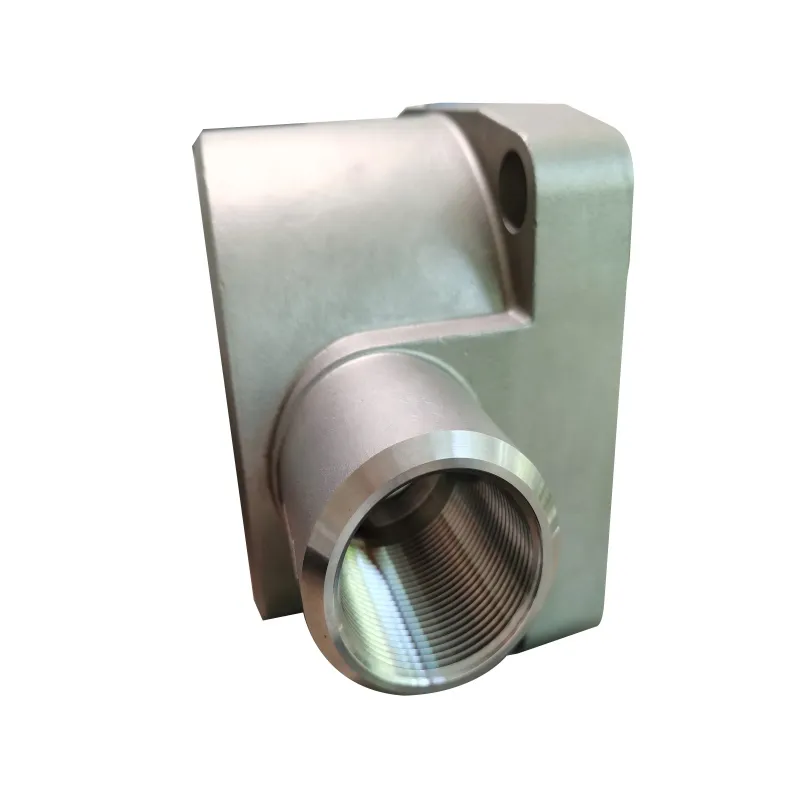
I remember a job for some stainless steel valve bodies. The wax patterns were thick. We ran the standard autoclave cycle. The result was a 30% shell fracture rate. The wax, trapped in the center of the thick sections, expanded faster than it could escape through the gate system. We had to go back and modify the wax patterns—add internal vents, change the gate design—just to facilitate the wax removal. It was a brutal lesson: the mold design starts with the wax, but it must be validated at the dewax stage. The shell isn't passive; it's in a violent dialogue with the wax it's designed to replace.
The wax recovery is its own world. You get the wax out, you filter it, you blend it with new wax to maintain properties. But that's another story. The shell now is empty, fragile, and holding the perfect cavity of your part. It's called a green state. Next stop: the furnace.
Burnout and Pour: Where the Chemistry Happens
The burnout furnace does two jobs: it gets rid of any last traces of wax or moisture, and it sinters the ceramic particles together, turning the green shell into a strong, monolithic mold. The ramp-up rate is critical again. You need to slowly burn out the organics without creating gases that crack the shell. A typical cycle might hold at 200°C for an hour, then slowly climb to 900-1000°C. You're not just heating it; you're transforming the chemistry of the binder in the slurry.
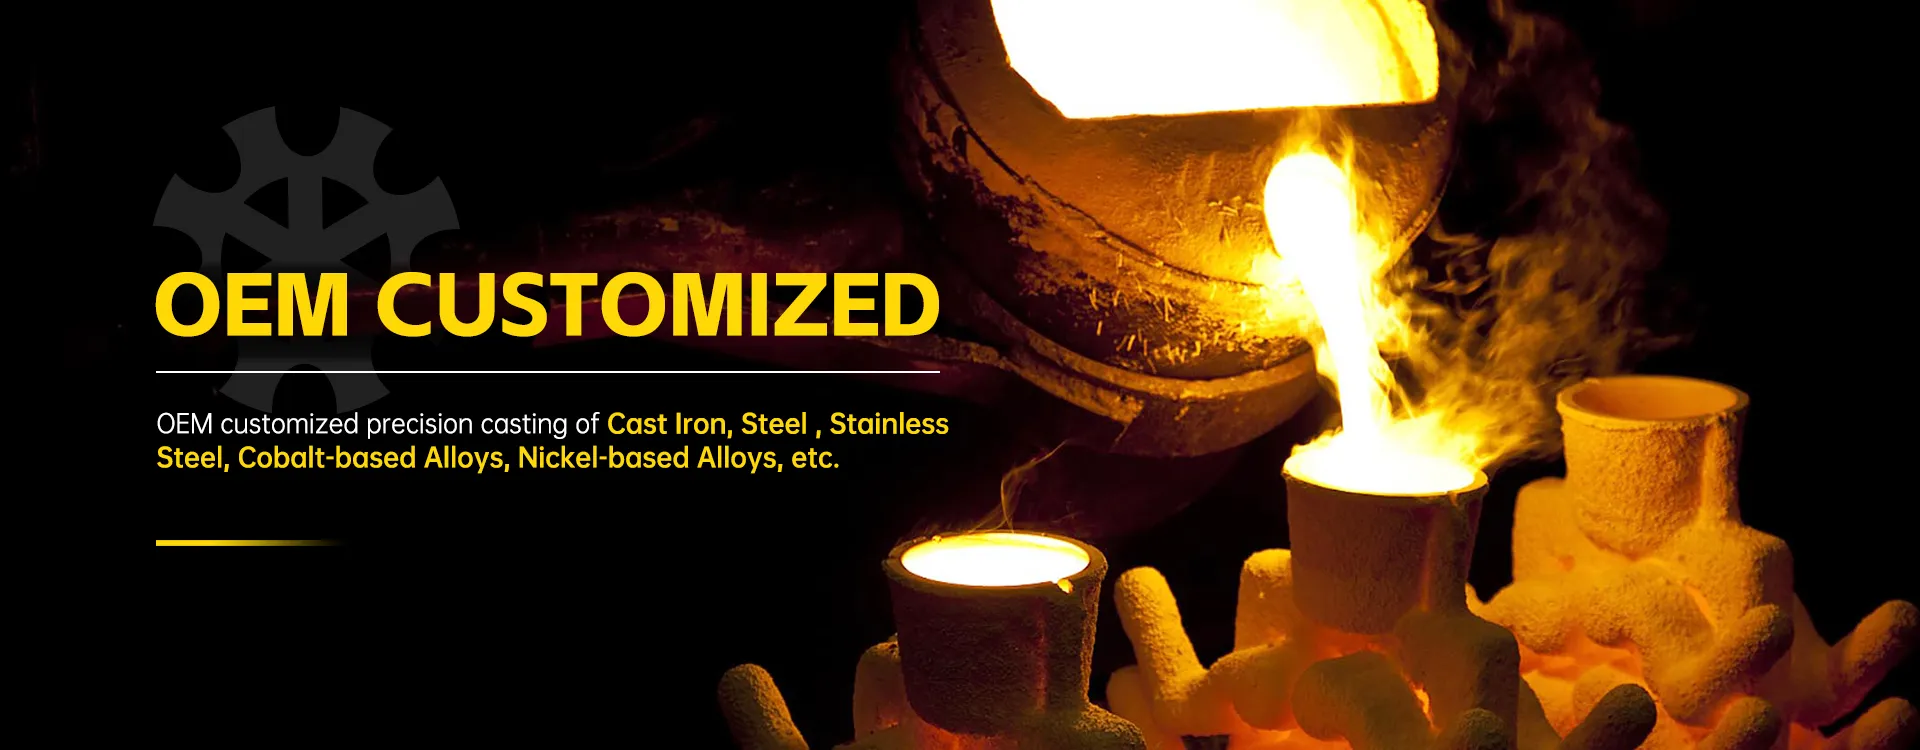
This is where material knowledge is key. If you're pouring a cobalt-chrome medical alloy, your shell composition needs to resist metal penetration at that specific temperature. A shell designed for carbon steel might simply react with the cobalt, causing surface contamination. Companies that have deep material experience, like Qingdao Qiangsenyuan Technology Co., Ltd.(QSY), build this knowledge into their process over decades. On their site, tsingtaocnc.com, they mention working with cobalt and nickel-based alloys. That tells me they've likely developed specific shell formulations—maybe with extra zircon or specialized binders—to handle the high reactivity and pouring temperatures of those alloys. It's not a generic process.
When the mold is hot (often you pour while it's still at several hundred degrees Celsius to prevent thermal shock and improve metal fluidity), you pour. The metal hits the ceramic. This is the moment the lost wax casting molds prove their worth. They must withstand the thermal stress, the metallostatic pressure, and not introduce any impurities. A shell that's under-fired might crumble. One that's over-fired can become brittle. It's a narrow window.
Knockout and the Aftermath
After the casting has solidified and cooled, you get to break the mold. It's a satisfying, violent process—water jets, vibration, sometimes brute force. A well-made shell should come off in chunks, not dust. If it's turned to powder, it might have been under-fired. If it's fused to the metal in spots, that's a reaction—wrong shell material for the alloy.
The inside surface of the shell cavity, the one that touched the metal, tells a story. It should be relatively smooth. If you see a rough, orange-peel texture on the cavity surface, that translates directly to the casting's surface. That roughness often comes from the first slurry coat being too thick or the first stucco not embedding properly. It's a forensic record of your first dip. Every flaw in the mold's interior becomes a positive feature on the casting. There's no hiding.
This is where the true cost of a mold flaw becomes apparent. A surface pit on the casting might be grindable. A mistun from a cracked shell? That's a total loss, and you've lost all the value-added from the wax pattern onward. The mold is a consumable, but it's the highest-stakes consumable in the chain.
Beyond the Standard: Complexities and Judgement Calls
Not all molds are created equal. Think about a part with deep, narrow channels—like a liquid cooling plate for electronics. Getting the slurry to coat evenly deep inside those channels without trapping air is a nightmare. You might need to use vacuum-assisted coating, or even rotate the tree during dipping. The drainage is tricky; slurry can pool and create thick spots that cause shell cracking later.
Or cores. Sometimes you need internal cavities that can't be formed by the wax alone. You insert ceramic cores into the wax pattern before shelling. Now your shell has to bond with or at least accommodate this core during firing and pouring. The differential thermal expansion between the shell and the core material is a whole new variable. If they don't move together, the core can shift or crack, ruining the internal geometry. This is advanced territory, where the mold becomes a composite structure.
Then there's the sheer scale. I've worked on molds for parts over a meter tall. The shell for something that big has to support its own weight during handling. The logistics of dipping, drying, and moving these giant, fragile structures is an engineering project in itself. You can't just follow a manual. You develop tricks—custom racks, specialized drying sequences. It's where 30 years of operation, like what QSY cites, translates into a kind of ingrained, problem-solving intuition. You learn what a good shell feels like on different types of patterns. It's a craft layered on top of a science.
So when you look at a precision investment casting, don't just see the metal. See the ghost of the ceramic shell that made it. Every contour, every surface finish, every thin wall is a testament to the quality and control of those layered, fired ceramic lost wax casting molds. They are the unsung, destroyed witness to the entire process. Getting them right isn't a step in the process; it is the process. Everything else is preparation or cleanup.