When you hear 'metal insert injection molding', the first image is often a simple plastic part with a threaded brass insert. That's the entry point, but it barely scratches the surface. The real challenge, and where most projects stumble, isn't just putting metal in plastic; it's about managing differential thermal expansion, achieving a hermetic seal under pressure, or ensuring electrical conductivity doesn't fail after 10,000 thermal cycles. Many treat the insert as an afterthought, a commodity component dropped into a mold. That mindset leads to field failures—cracks, pull-outs, or inserts that spin freely after six months. The insert isn't just a piece of metal; it's the functional heart of the assembly, and its integration dictates the product's lifespan.
The Foundation: It Starts with the Insert Itself
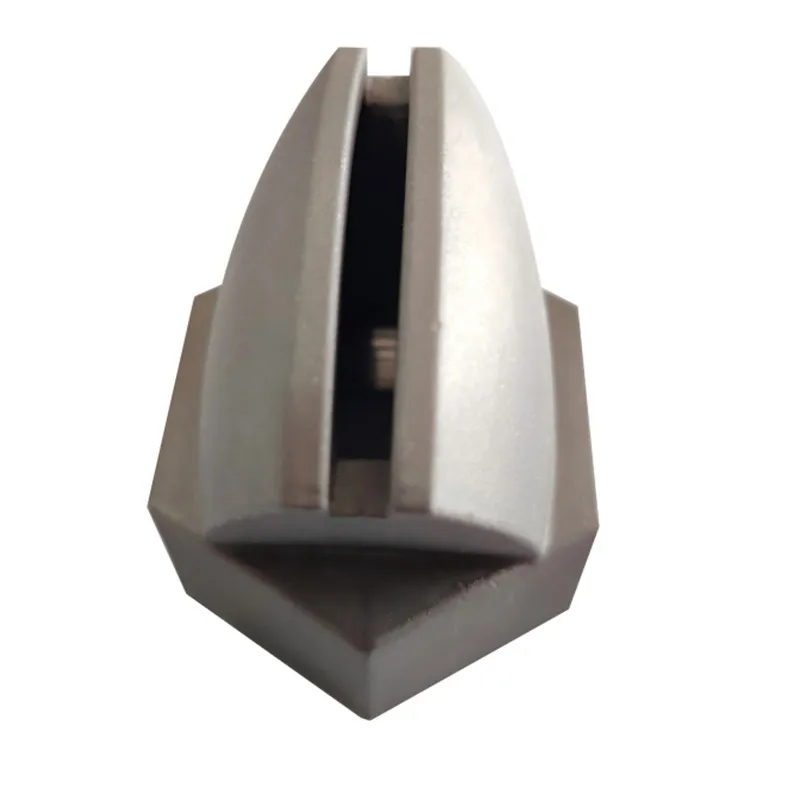
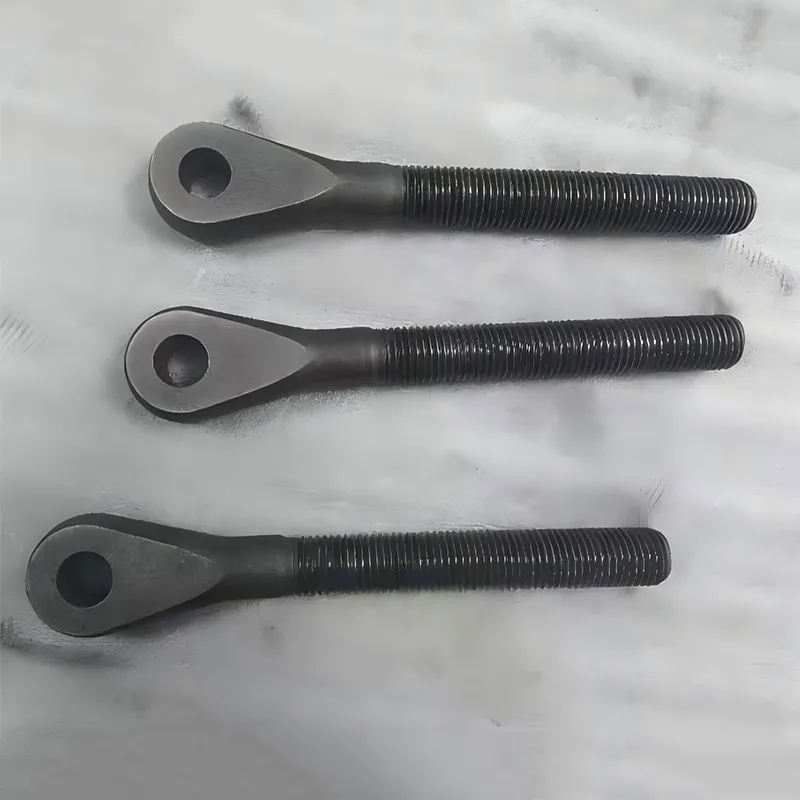
You can't talk about successful metal insert injection molding without first dissecting the insert. I've seen too many engineers simply specify a standard knurled brass insert from a catalog. For a low-stress consumer product, maybe that's fine. But for anything in automotive, industrial controls, or medical? That's a gamble. The material selection is critical. Is it plain carbon steel for cost? 300 series stainless for corrosion resistance? Or something like a nickel-based alloy for high-temperature environments? The choice directly impacts the molding process and final performance.
This is where experience with a partner who understands metallurgy pays off. I recall a project for a sensor housing that needed to withstand constant thermal cycling from -40°C to 150°C. We initially used a standard 304 stainless insert. The plastic (a high-temperature nylon) cracked around the insert after accelerated testing. The problem wasn't the plastic's rating; it was the mismatch in the coefficient of thermal expansion (CTE). We had to switch to a custom-designed insert using an Invar alloy, which has a much lower CTE, to better match the nylon. That kind of solution doesn't come from a generic supplier; it comes from deep material science knowledge.
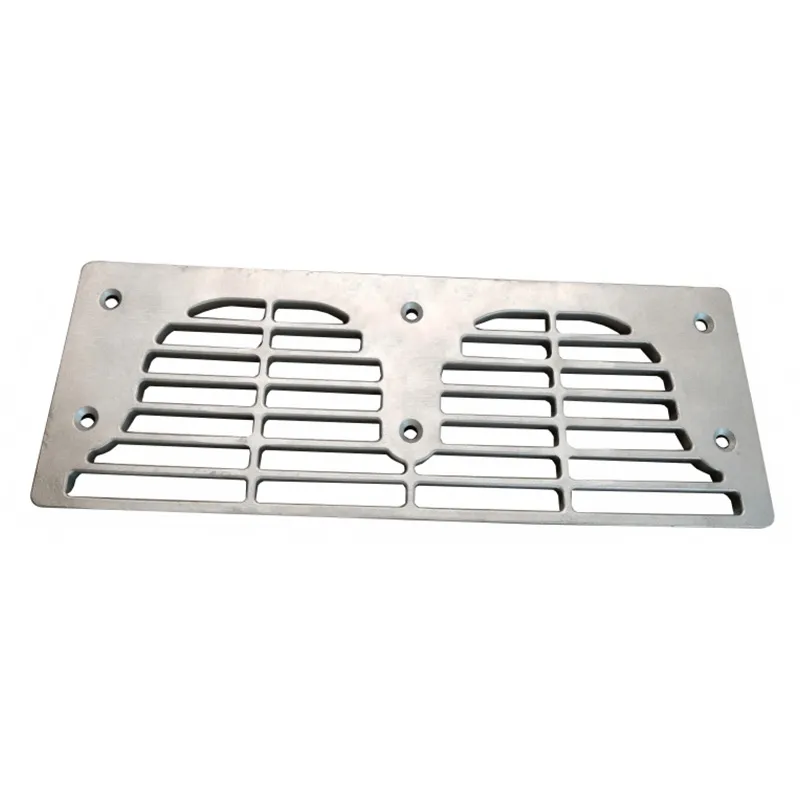
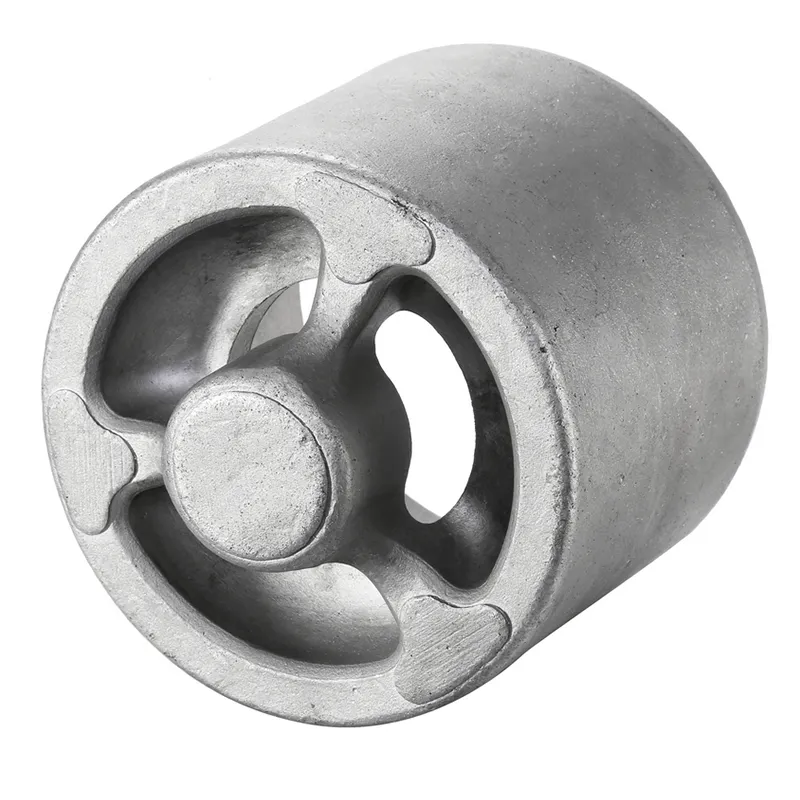
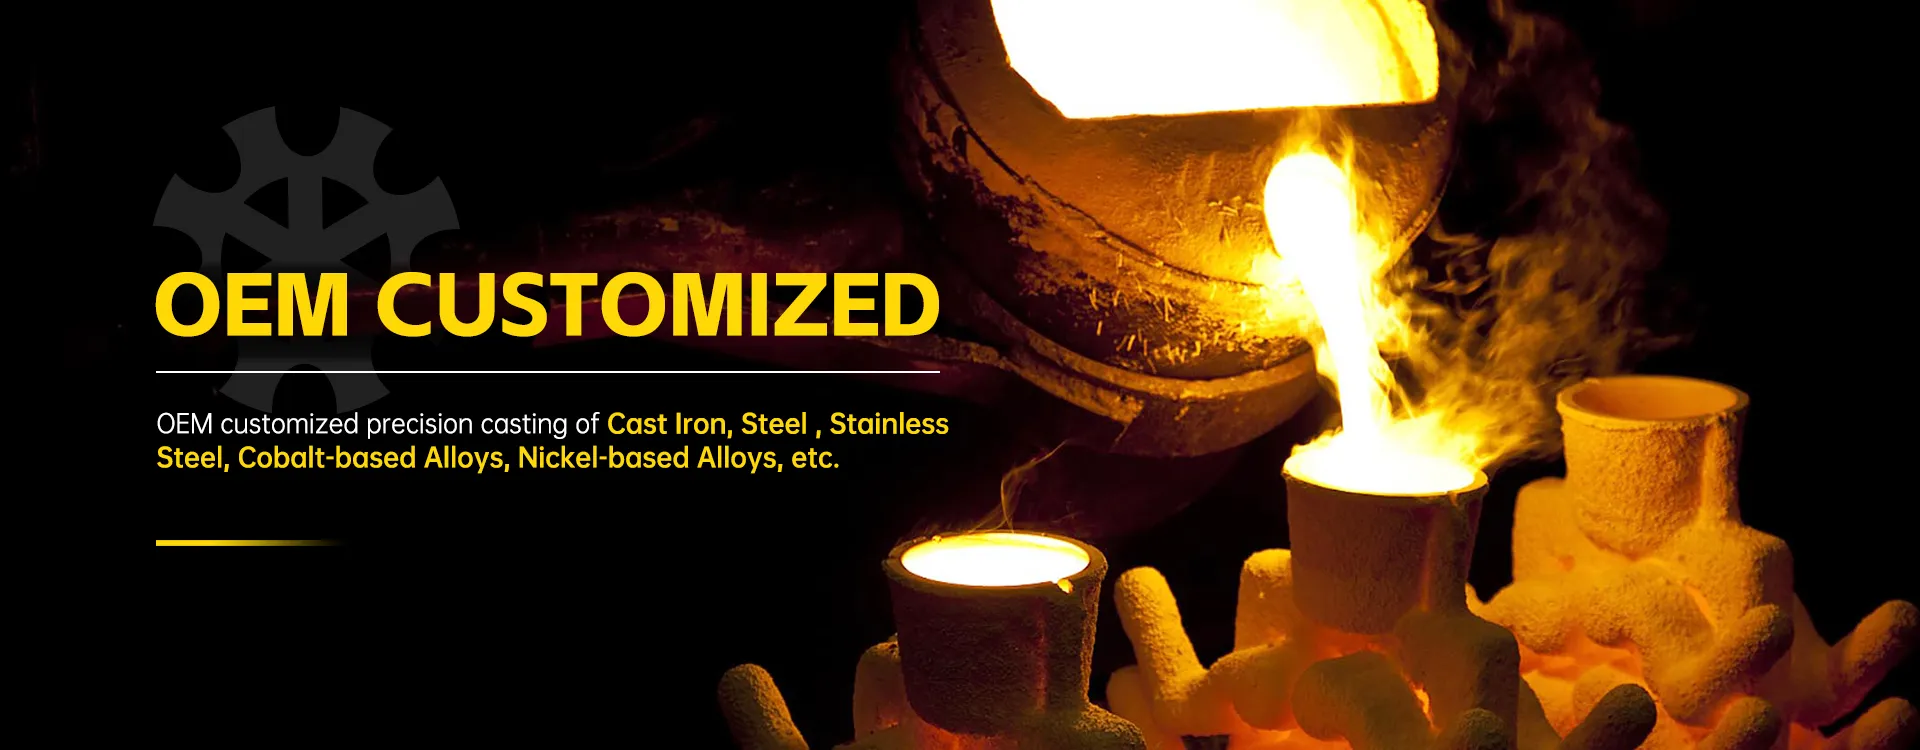
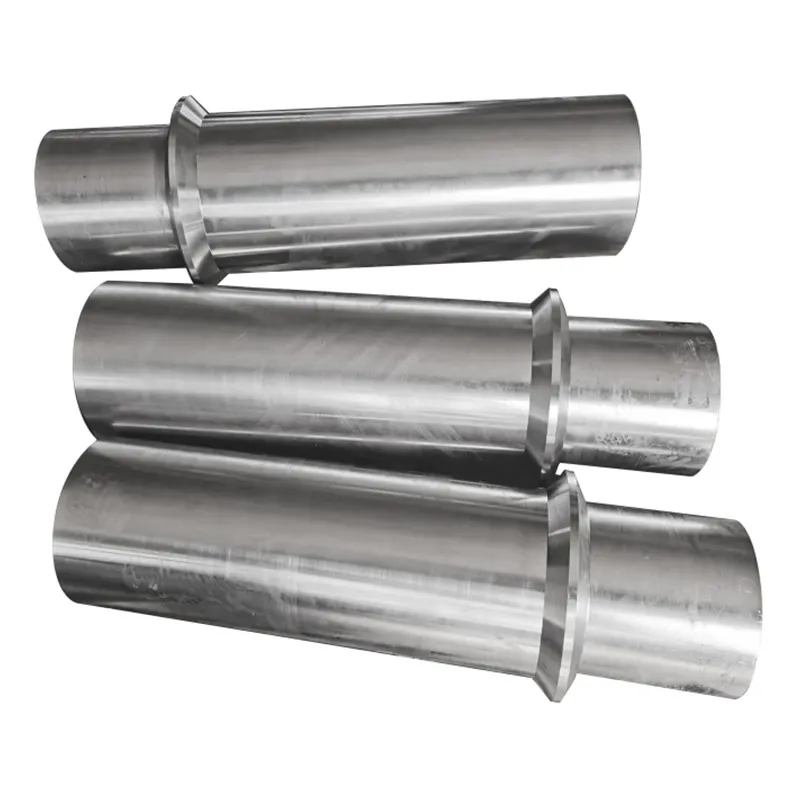
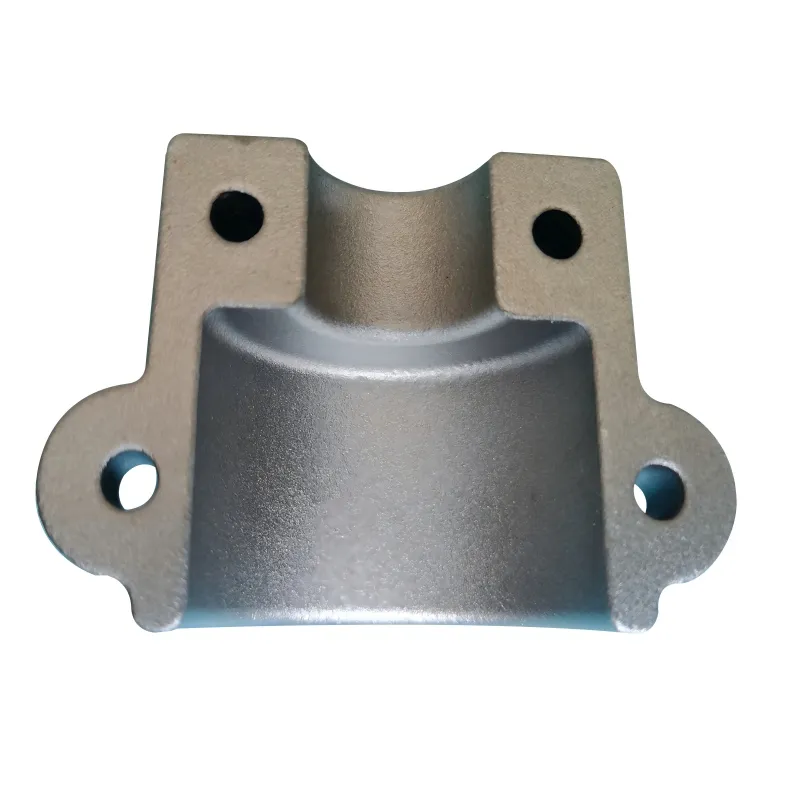
Companies that have a foot in both metal fabrication and plastics processing bring a distinct advantage. For instance, a firm like Qingdao Qiangsenyuan Technology Co., Ltd. (QSY), with its 30-year background in investment casting and CNC machining of everything from stainless steel to nickel-based alloys, approaches insert design differently. They don't just machine a part; they consider how the grain structure from the casting process, or the machining stresses, will interact with the molten polymer flow and subsequent shrinkage. An insert isn't just a geometry; it's a manufactured component with a history that affects the bond.
Molding Process: Where Theory Meets (Messy) Reality
Okay, you've got a well-designed insert. Now you have to mold it. The textbook says: pre-heat inserts to reduce thermal shock and improve bond strength. Sounds simple. But in a high-volume production environment, pre-heating adds cycle time and complexity. So, what's the trade-off? For a large, thick-walled insert, skipping pre-heat almost guarantees voids or weld lines around it, creating a structural weak point. For a small insert in a thin-walled housing, you might get away with it, but you're sacrificing long-term fatigue resistance.
Then there's the mold design. The insert must be located and held with absolute precision—we're talking microns of tolerance. Any movement during injection will result in flash (plastic seeping into threads or critical surfaces) or, worse, a bent core pin. I've debugged molds where the issue was simply the insert loading fixture wearing down after 50,000 cycles, causing a slight positional drift that only manifested as an intermittent leak test failure. The fix wasn't in the molding parameters; it was in the tooling maintenance schedule.
Another subtle point: gate location relative to the insert. You never want the high-pressure melt stream to hit the insert directly. It can cool too quickly upon impact, causing poor surface wetting, or it can displace a lightly held insert. The polymer should flow around the insert, allowing it to be enveloped uniformly. This often requires sophisticated mold flow analysis upfront, not just guesswork. A common failure I've witnessed is a beautiful part that passes all initial tests, but under vibration, the insert loosens because the plastic encapsulation wasn't uniform, leaving one side in residual tension.
Failure Modes and What They Teach You
You learn more from a failed part than from a perfect one. The classic failure is insert pull-out. If the pull-out force is lower than spec, everyone's first instinct is to add more knurls or deeper undercuts. Sometimes that works. But often, the root cause is internal stress in the plastic. If the part cools too quickly, or if the insert is too cold, the plastic shrinks onto it with immense stress. This stress can cause micro-cracks that propagate over time or with chemical exposure. I once worked on a fuel system component where the inserts would pull out after exposure to biofuel. More knurls didn't help. The solution was switching to a more chemically resistant polymer and using a post-molding annealing process to relieve those internal stresses. The bond strength increased by over 60%.
Another sneaky failure is galvanic corrosion. This happens when the metal insert and a metal coating or adjacent component (like a PCB trace) create an electrochemical cell in the presence of an electrolyte (humidity, sweat, process fluids). Using a stainless steel insert against an aluminum heat sink inside a plastic enclosure can be a recipe for disaster in outdoor electronics. You need to consider the entire system's material compatibility, not just the plastic-metal interface. Isolation or using similar noble metals is key.
Electrical continuity failures are a category of their own. For inserts used as electrical contacts or grounding points, the molding process must not create a insulating oxide layer or trap contaminants at the interface. Sometimes, a specific surface finish on the insert—like a light tin plating—is necessary to ensure a reliable cold weld between the plastic-encapsulated metal and a spring contact that will be mated later. Getting this wrong means a product that fails final electrical test, with no easy rework.
When It's Not Just an Insert: Complex Metal Subassemblies
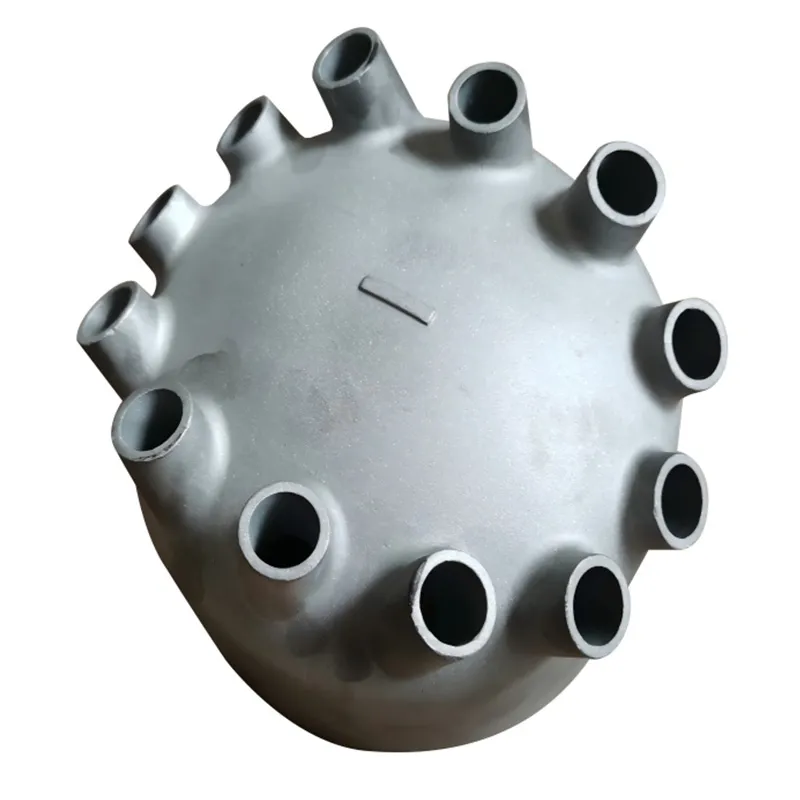
The real frontier of metal insert injection molding is moving beyond a single piece of metal. We're talking about overmolding onto pre-assembled metal components—a small gear train, a sensor probe, or a stamped electrical terminal array. This is where the process becomes less insert molding and more precision encapsulation. The challenges multiply. You have multiple CTEs to manage, delicate features to protect from injection pressure, and often critical surfaces that must remain completely free of plastic.
I was involved in a project to overmold a delicate pressure sensor, which itself had a stainless steel diaphragm. The sensor's performance was ruined if any plastic stress was transmitted to the diaphragm. We couldn't just grip the sensor body; we had to design a mold that supported it completely along its axis and injected the plastic through a series of micro-gates in a pattern that created perfectly balanced, minimal pressure on the critical area. It took over a dozen mold trials to get the gate design and cooling layout right. The expertise required here blends precision machining (to create the perfect mold cavities and supports) with a nuanced understanding of polymer rheology.
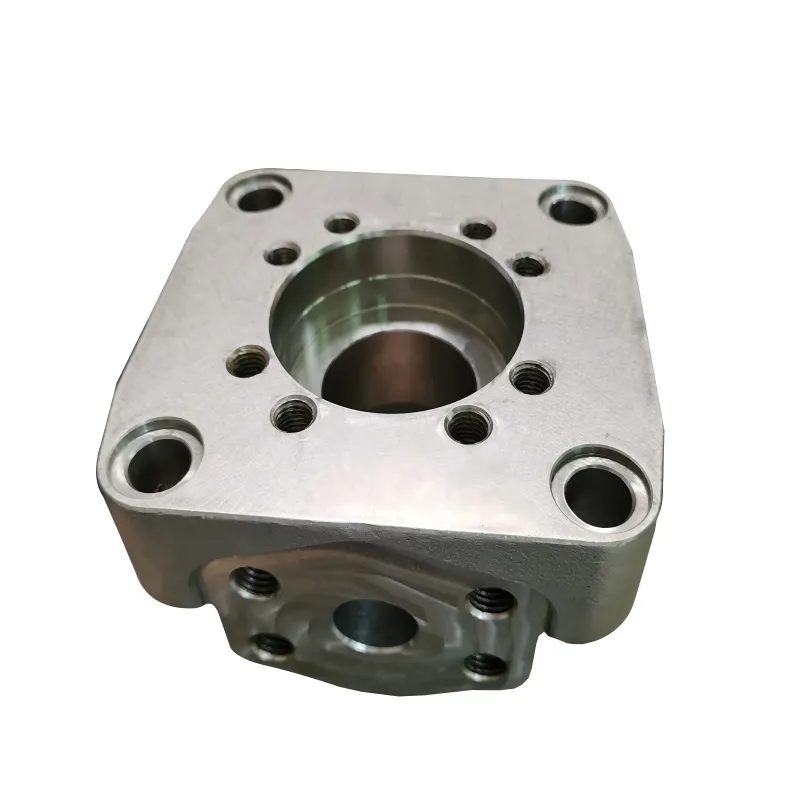
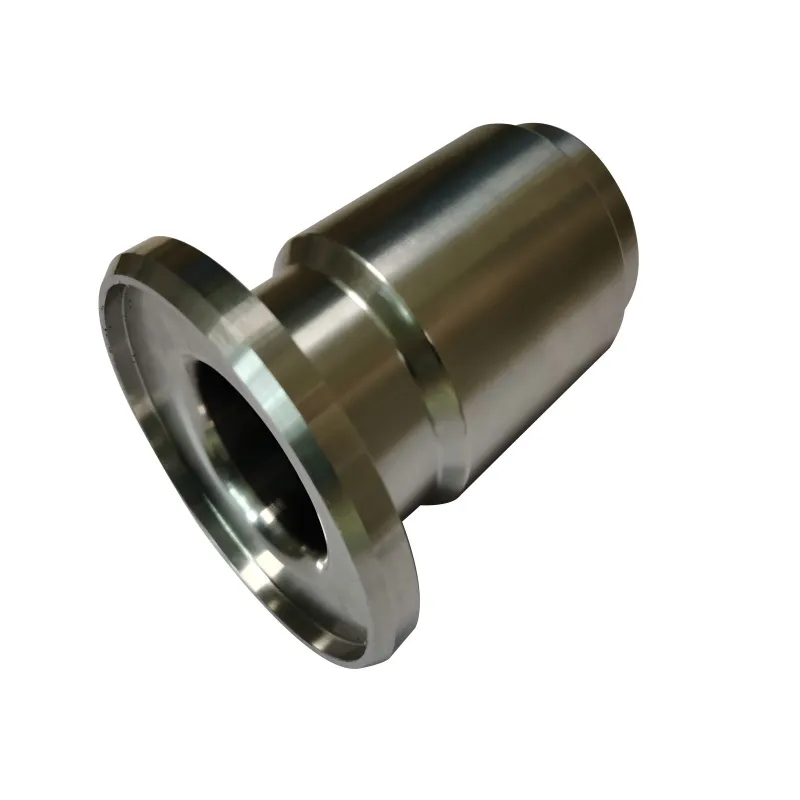
This is precisely the domain where a manufacturer's broader capabilities become decisive. A company like QSY, with its extensive CNC machining and experience working with high-performance alloys for investment casting, is positioned to handle this complexity. They can machine the intricate metal subassembly, understand its tolerances and weaknesses, and then collaborate on the mold design to protect it during overmolding. It's an integrated approach. You're not just sending a print to a molder and a separate print to a machinist; the entire process is co-engineered. For a critical component in a flow control valve, for example, this integration meant the difference between a prototype and a reliable, mass-producible part.
The Economic Reality: Cost vs. Value
Let's be blunt: metal insert injection molding is rarely the cheapest way to make a part. The inserts cost money, the molding cycle is slower, and the tooling is more complex. The justification is always in added value and total system cost reduction. If that insert eliminates a secondary assembly operation—like manually screwing in a fastener—you might win on cost. If it enables a waterproof seal that would otherwise require an O-ring and a separate assembly step, you win on reliability and cost.
The key is to design for the process from the very beginning. Trying to add an insert to a part that was designed for traditional assembly is a patch. Designing the part with the insert as a core feature allows you to optimize everything: wall thickness around the insert for optimal stress distribution, features to aid in automated insert loading, and geometries that simplify the mold. I've sat through design reviews where moving a rib 1.5mm allowed for a simpler, more robust core pin to support the insert, saving thousands in mold maintenance over its life.
Ultimately, the decision to use this process comes down to function. It's for creating robust, multi-material components where the integrity of the bond is non-negotiable. Whether it's a knob that must withstand a million cycles of torque, a connector that must be immersion-proof, or a surgical tool handle that needs a solid metal core for balance and attachment, the process is a tool for solving engineering problems, not just a manufacturing step. When done right, with attention to the gritty details of materials, mechanics, and process control, the result is a part that simply disappears into reliable functionality—which is the highest compliment you can give to any manufacturing process.