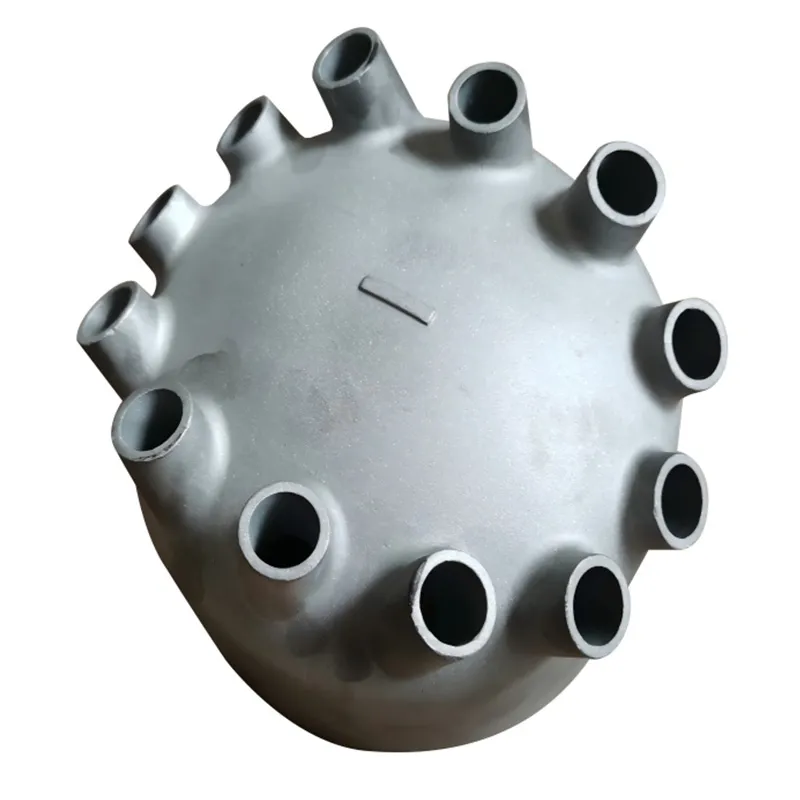
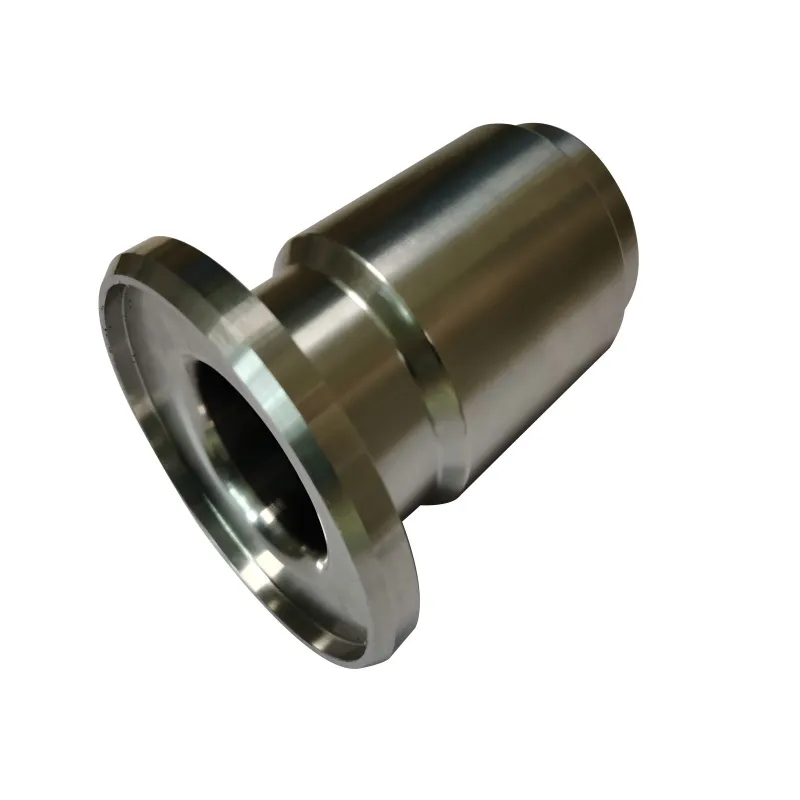
When most people hear 'silica sol precision casting', they picture a flawless, net-shape component, ready to go. That's the marketing ideal. The reality, the daily grind, is a constant negotiation with colloidal chemistry, stucco application, and the unforgiving physics of metal solidification. It's not just about making a mold; it's about engineering a temporary, ceramic-lined cavity that behaves predictably under 1500°C molten metal. A lot of shops get fixated on the final metal grade—which is critical, sure—but in my view, the real battle is won or lost in the slurry room and the dewaxing autoclave. That's where the geometry is either preserved or distorted before a single drop of metal is poured.
The Core Misconception: It's Just a Binder
Many treat the silica sol as a simple glue, a binder to hold the refractory flour together. That's a dangerous oversimplification. It's a living system. The sol's viscosity, pH, and SiO2 content aren't just numbers on a spec sheet; they dictate how the first coat wets the wax pattern, how evenly it drains, and ultimately, the surface finish of the casting. I've seen batches where the sol was slightly 'older', leading to a faster gelling reaction with the ethyl silicate hardener. The result? A brittle primary coat that micro-cracked during dewaxing, causing veining defects on every single casting in the run. The metal was perfect 316L, but the parts were scrap.
This is where the foundational experience of a supplier matters. You need a partner who understands that the consumables are as specialized as the process. A company like Qingdao Qiangsenyuan Technology Co., Ltd. (QSY), with their three decades in shell mold and investment casting, gets this intrinsically. It's not just about selling you silica sol; it's about knowing that the success of your silica sol precision casting process hinges on the consistency of that very liquid. Their long-term operation suggests a deep, practical familiarity with these material nuances, the kind that only comes from running production lines year after year.
The choice of refractory flour—fused silica, zircon, or something like mullite—is married to the behavior of the sol. Zircon needs a different sol viscosity than fused silica for optimal dipping. It's a pairing. You can't optimize one in isolation. We learned this the hard way on a project for a turbine blade prototype. We switched to a finer zircon flour for better detail reproduction but kept the dipping parameters the same. The slurry was too thick, corners got bridged, and the shell developed low-strength zones. The shells kept fracturing during handling. A costly lesson in system thinking.
The Shell-Building Dance: A Layer-by-Layer Compromise
Building the shell is where theory meets the messy reality of the shop floor. The textbook says 7-9 coats. But for a thick-section steel casting? You might need more backup coats for strength, but each coat adds to the risk of trapping stress during drying. For a thin-walled, intricate stainless steel part, you might prioritize fewer, finer coats to avoid filling the details. It's a compromise between green strength, permeability, and final dimensional accuracy.
Drying between coats is the most underestimated variable. It's not just about time; it's about airflow, humidity, and temperature uniformity in the drying room. A slight draft can cause one side of a cluster to dry faster, leading to differential stresses. We once had a recurring issue with shell cracking on one side of our drying racks. Took us weeks to trace it back to an HVAC vent that was creating a micro-climate. The fix wasn't in the slurry formula; it was in the facility management.
Stuccoing is another art. The size and type of stucco—again, zircon, fused silica, alumino-silicate—determine the shell's porosity and resistance to metal penetration. Too fine, and you choke off gas escape during pouring, leading to gas porosity in the casting. Too coarse, and you get a rough internal surface that can cause metal penetration and poor finish. For the high-temperature alloys QSY lists, like nickel-based and cobalt-based alloys, which have high melting points and different fluidity, the stucco strategy might shift to favor higher refractoriness and thermal shock resistance. Their experience across such a wide material range, from cast iron to special alloys, implies they've had to master these adjustments.
Dewaxing: The High-Stress Moment
This is the first true test of your shell. All that careful layering is about to be subjected to rapid thermal expansion as the wax melts and expands. The autoclave's pressure and temperature ramp rate are critical. Too fast, and the hydraulic pressure of the wax will crack even a well-built shell. Too slow, and you risk incomplete wax removal, leading to fires and carbon defects during burnout.
We had a batch of shells for some valve bodies that consistently cracked at the sprue base. The shells looked perfect. We checked everything—slurry, drying, stucco. Finally, we looked at the wax itself. A new supplier had a slightly higher coefficient of thermal expansion. The shell, designed for the old wax's expansion profile, couldn't contain the extra pressure. The solution was to modify the autoclave cycle, introducing a brief pre-pressure soak to soften the wax core before the main steam blast. It added 3 minutes to the cycle but saved thousands in scrap.
Burnout & Pouring: Where the Ceramic Shell Earns Its Keep
Burnout isn't just about burning out wax residue. It's about sintering the ceramic, developing its final hot strength. The ramp to 1000°C+ needs to be controlled to avoid thermal shock. Any residual carbon from the wax can create a reducing atmosphere inside the shell, which for some alloys like certain stainless steels, can be detrimental to surface chemistry.
Then comes the pour. This is where the shell's permeability is vital. Molten metal flows in, gases need to escape out through the shell wall. If the shell is too dense (from over-dipping or too fine stucco), the gas gets trapped, forming pinholes. I remember a job for a pump impeller in duplex stainless steel. The shells were beautiful, dense, and strong. But we had a 30% rejection rate for surface gas. The issue was traced back to the third and fourth coat slurry, which we had milled a bit longer for stability, making it too fine and reducing the inter-particle pores. A classic case of improving one property (slurry stability) at the expense of a critical one (permeability).
Finishing & The Real-World Benchmark
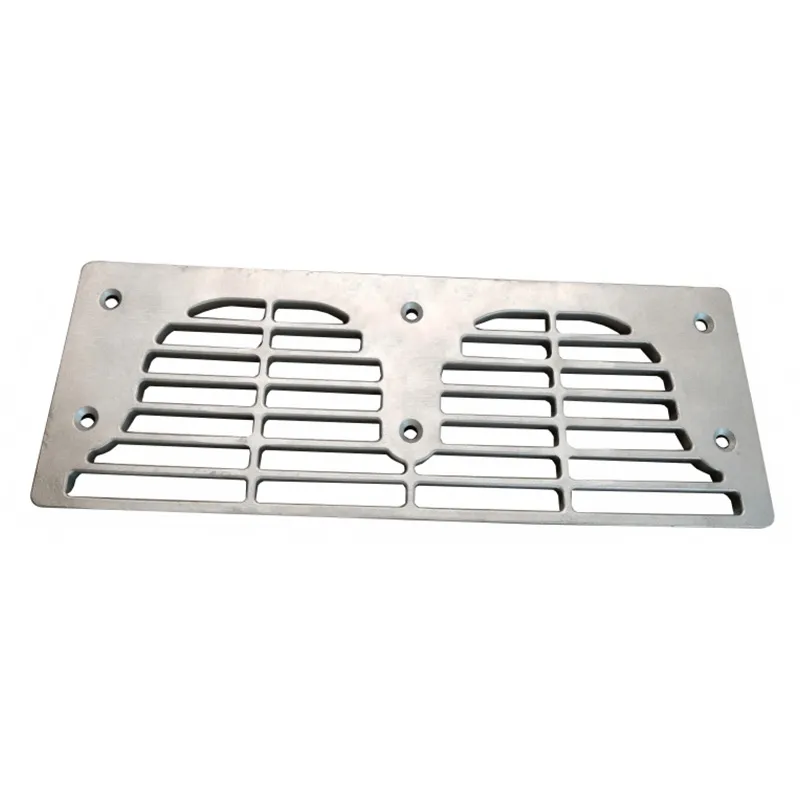
The proof is in the grinding room. How much stock needs to be removed? A well-executed silica sol precision casting process should yield parts requiring minimal finishing. The gate removal point should be clean, not tearing away a chunk of the casting base. The surface should be clean enough that for some non-critical faces, a light glass-bead blast is sufficient. This is a huge cost saver, especially for hard alloys like cobalt-based ones that are tough to machine.
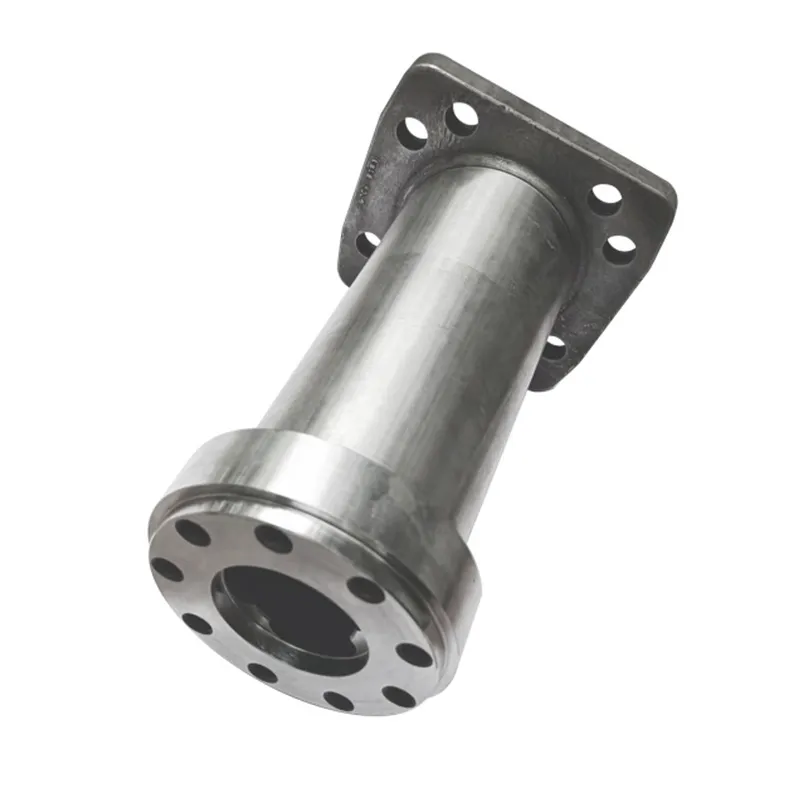
This is the integrated service that a full-service provider brings. It's not just making a shell and pouring metal. It's the entire value chain, from pattern making to final CNC machining. Looking at QSY's scope—encompassing shell mold casting, investment casting, and CNC machining—they are structured to control this entire flow. They can design the casting process with the machining in mind, optimizing gate locations for minimal cleanup, which is a massive advantage for complex components. Their website, https://www.tsingtaocnc.com, reflects this integrated approach, positioning them as a solution for finished components, not just raw castings.
In the end, silica sol precision casting is a chain of a hundred small decisions. Each one—from the pH of the sol to the ramp rate in the burnout furnace—leaves a fingerprint on the final part. The shops that succeed aren't just following a recipe; they're reading the shells, interpreting the cracks, and constantly tweaking the process. It's a blend of deep materials science and hands-on, almost intuitive, shop floor craft. The goal is never perfection; it's predictable, repeatable excellence, batch after batch. And that only comes from time in the trenches, dealing with the humidity of a monsoon season or a new batch of refractory sand that behaves just a little differently.