DIY metal casting is the accessible process of melting metals like aluminum, brass, or bronze to create custom parts, art, and tools at home. This comprehensive guide details every step for beginners, from selecting safe equipment and preparing molds to pouring molten metal and finishing your final cast. By following industry-standard safety protocols and proven techniques, hobbyists can achieve professional-quality results without needing a foundry.
What Is DIY Metal Casting and How Does It Work?
At its core, DIY metal casting involves liquefying metal and pouring it into a hollow cavity, known as a mold, where it cools and solidifies into a specific shape. This ancient manufacturing technique has evolved into a popular hobby for makers, artists, and engineers who need custom components that are unavailable off-the-shelf.
The fundamental principle relies on the phase change of metal. When heated beyond its melting point, the atomic structure loosens, allowing the material to flow like water. Once contained within a mold and allowed to cool, the atoms re-lock into a rigid structure, preserving the negative space of the mold as a positive object.
Current mainstream approaches for hobbyists typically utilize lower-melting-point metals such as aluminum alloys. These materials are abundant, recyclable, and require less extreme temperatures than steel or iron, making them ideal for backyard operations. The process generally encompasses pattern making, mold creation, melting, pouring, and post-casting cleanup.
Understanding the physics of heat transfer is crucial. The mold must withstand thermal shock without cracking while allowing gases to escape. Failure to manage gas entrapment often results in porous or defective casts. Therefore, successful DIY metal casting is as much about managing air and heat as it is about handling liquid metal.
Essential Safety Protocols for Home Foundries
Safety is the non-negotiable foundation of any metalworking project. Molten metal presents severe risks, including burns, fire, and toxic fumes. Before attempting to melt a single gram of aluminum, practitioners must establish a rigorous safety perimeter and equip themselves with appropriate personal protective equipment (PPE).
The industry universally mandates the use of specific gear designed to resist high temperatures. Standard cotton clothing is insufficient; synthetic fabrics can melt onto skin upon contact with sparks. Instead, natural fibers like heavy denim or leather aprons are required to provide a barrier against radiant heat and accidental splashes.
- Eye Protection: Always wear shaded safety glasses or a full-face shield rated for welding to protect against UV radiation and flying debris.
- Hand and Foot Coverage: Leather gauntlet gloves and closed-toe leather boots are essential. Never wear sandals or synthetic sneakers near the furnace.
- Respiratory Safety: Melting certain metals or using specific fluxes can release hazardous fumes. A respirator with appropriate cartridges is recommended for indoor or poorly ventilated areas.
- Environment Control: Ensure the workspace is dry. Water contacting molten metal causes instantaneous steam expansion, leading to violent explosions.
Furthermore, having a Class D fire extinguisher nearby is a critical precaution. Standard water-based or CO2 extinguishers can exacerbate metal fires. The workspace should be clear of flammable materials, and a dedicated “safe zone” for cooling casts must be established away from foot traffic.
Selecting the Right Metals for Beginner Projects
Choosing the appropriate alloy is the first technical decision in DIY metal casting. Not all metals are suitable for beginner setups due to varying melting points and fluidity characteristics. Aluminum remains the most popular choice for novices due to its low melting temperature and widespread availability.
Aluminum alloys, particularly those sourced from recycled engine blocks or wheel rims, melt around 660°C (1220°F). This temperature is achievable with simple propane furnaces. These alloys offer a good balance of strength and castability, making them versatile for functional parts and decorative items.
Brass and bronze are also common choices but require higher temperatures, typically exceeding 900°C (1650°F). While they produce beautiful, corrosion-resistant finishes, they demand more robust furnace insulation and stricter safety measures. Zinc alloys melt at even lower temperatures but can emit toxic fumes if overheated, requiring careful temperature monitoring.
It is important to avoid metals with unknown compositions or coatings. Galvanized steel, for instance, contains zinc coatings that release deadly chlorine gas when heated. Stick to clean, uncoated scrap metal or purchase certified ingots from reputable suppliers to ensure consistent chemical properties and safety.
Step-by-Step Guide to the Sand Casting Process
Sand casting is the most accessible method for DIY metal casting, offering flexibility in design and low tooling costs. This section provides a detailed, sequential workflow to guide beginners from concept to finished part. Following these steps meticulously reduces the risk of defects and ensures a smoother learning curve.
Step 1: Pattern Creation and Preparation
The process begins with creating a pattern, which is a replica of the final object you intend to cast. Patterns can be made from wood, plastic, or even 3D-printed materials. The pattern must be slightly larger than the desired final part to account for metal shrinkage during cooling.
Surface finish is critical; a smooth pattern yields a smooth casting. Apply a parting powder or spray to the pattern to prevent the sand from sticking. This step ensures the pattern can be removed cleanly from the mold without damaging the cavity walls. Complex shapes may require split patterns to facilitate removal.
Step 2: Preparing the Mold Flask and Sand
A flask, typically a two-part frame made of wood or metal, holds the molding sand. Place the drag (bottom half) on a flat board and position the pattern inside. Fill the drag with specially formulated green sand, a mixture of silica sand, clay, and water.
Pack the sand firmly around the pattern, ensuring no air pockets remain. The sand must be tight enough to hold its shape but porous enough to allow gases to escape. Once packed, strike off the excess sand to create a flat surface. Repeat the process with the cope (top half), inserting sprue and riser pins to create channels for pouring and venting.
Step 3: Mold Assembly and Gating System
Carefully separate the cope from the drag. Remove the pattern by tapping it gently and lifting it straight out, leaving a precise cavity. Inspect the cavity for any loose sand or damage; repair minor imperfections with a small tool.
The gating system, consisting of the sprue (pouring cup), runners, and gates, directs the molten metal into the cavity. Cut these channels carefully in the sand using a gate cutter or knife. Proper gating minimizes turbulence, which prevents air entrapment and oxidation. Reassemble the flask, ensuring the cope and drag align perfectly using registration pins.
Step 4: Melting the Metal
Prepare your furnace and crucible. Place clean, dry metal scraps into the crucible and begin heating. Monitor the temperature closely using a pyrometer if available. The goal is to reach a fully liquid state without superheating, which can degrade the metal’s properties.
As the metal melts, dross (impurities floating on the surface) will form. Skim this off using a preheated skimming tool. Adding a flux can help gather impurities, making them easier to remove. The metal is ready to pour when it appears silvery and moves fluidly, resembling thick water.
Step 5: Pouring the Molten Metal
This is the most critical moment in DIY metal casting. Wear full PPE and approach the mold with confidence. Hold the crucible securely with tongs and pour the metal in a steady, continuous stream into the sprue.
Do not stop pouring until the metal rises in the riser, indicating the cavity is full. Interrupting the flow can cause cold shuts, where layers of metal fail to fuse. Maintain a safe distance once the pour is complete and allow the casting to cool naturally. Do not quench with water, as rapid cooling can cause cracking or steam explosions.
Step 6: Shakeout and Cleaning
Once the casting has cooled to room temperature, break apart the sand mold to retrieve the raw casting. This process, called shakeout, reveals the rough part attached to the gating system. Use a hammer or chisel to carefully remove the sprue, runners, and risers.
Clean the surface using a wire brush, sandblasting, or grinding to remove residual sand and oxides. Inspect the part for defects such as porosity or incomplete fills. With practice, the need for extensive post-processing decreases as molding and pouring techniques improve.
Comparison of Common Casting Methods for Hobbyists
While sand casting is the entry point for most, other methods offer different advantages depending on the project requirements. Understanding the trade-offs between complexity, cost, and surface finish helps makers choose the right technique for their specific needs.
| Method |
Complexity |
Cost |
Surface Finish |
Best Application |
| Sand Casting |
Low |
Low |
Rough/Medium |
Large parts, one-off prototypes, artistic sculptures |
| Investment Casting |
High |
Medium |
Very Smooth |
Intricate jewelry, detailed miniatures, complex geometries |
| Die Casting (Gravity) |
Medium |
High (Tooling) |
Smooth |
High-volume production of identical small parts |
| Lost Foam |
Medium |
Low |
Medium/Good |
Complex internal structures, no parting lines needed |
Sand casting excels in versatility and low setup costs but leaves a grainy texture on the final part. Investment casting, often used for jewelry, provides exceptional detail but involves a labor-intensive wax elimination process. Lost foam casting eliminates the need for parting lines by vaporizing a foam pattern directly in the sand, simplifying the mold-making phase for complex shapes.
For beginners focusing on functional mechanical parts, sand casting offers the best balance of learning opportunity and practical utility. Those interested in fine art or jewelry may eventually transition to investment casting once they have mastered the basics of metal behavior and temperature control.
From Hobbyist Roots to Industrial Precision
While the joy of DIY metal casting lies in creating unique pieces at home, many enthusiasts eventually encounter projects that demand industrial-scale precision, advanced materials, or higher volume production. This is where the gap between backyard foundries and professional manufacturing becomes apparent. For applications requiring strict tolerances, exotic alloys, or certified quality control, partnering with an experienced foundry is often the necessary next step.
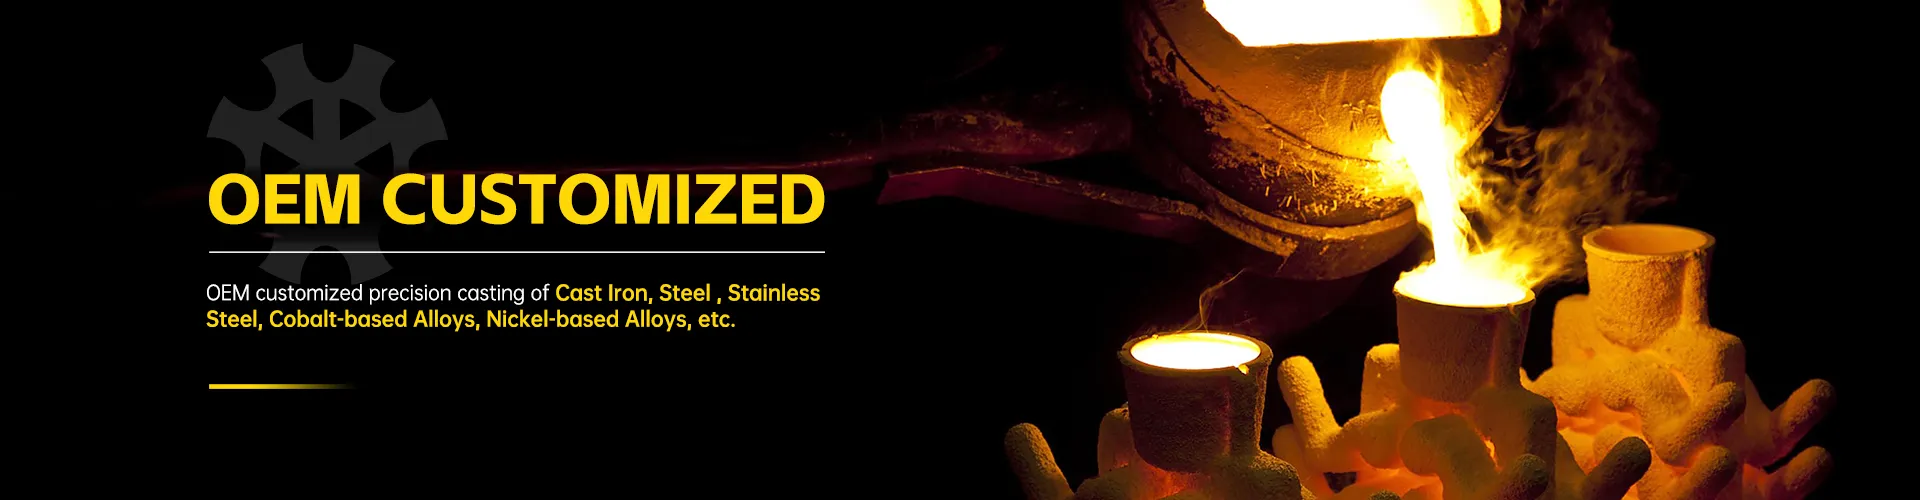
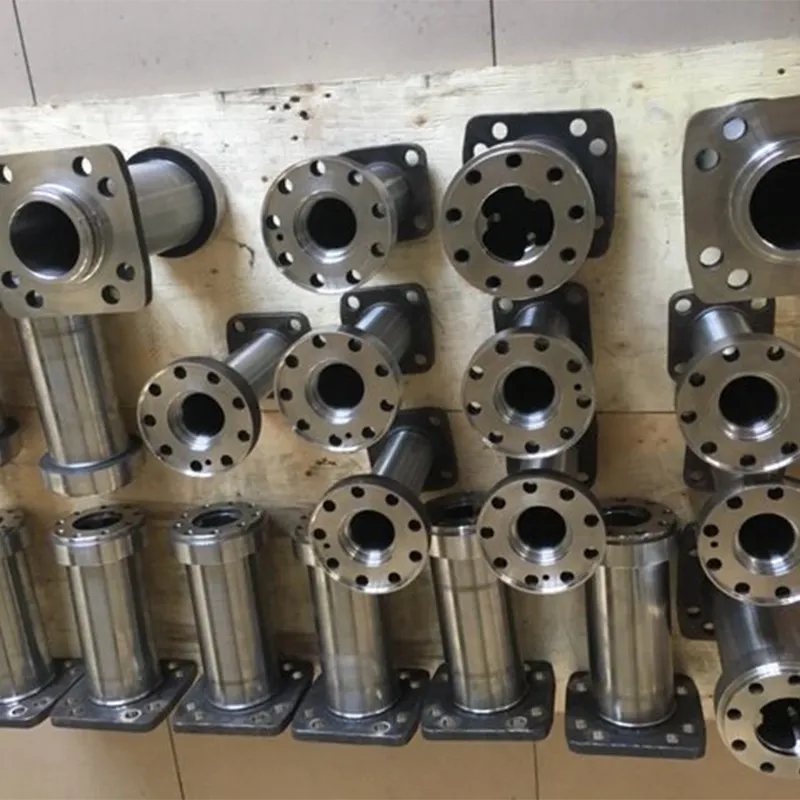
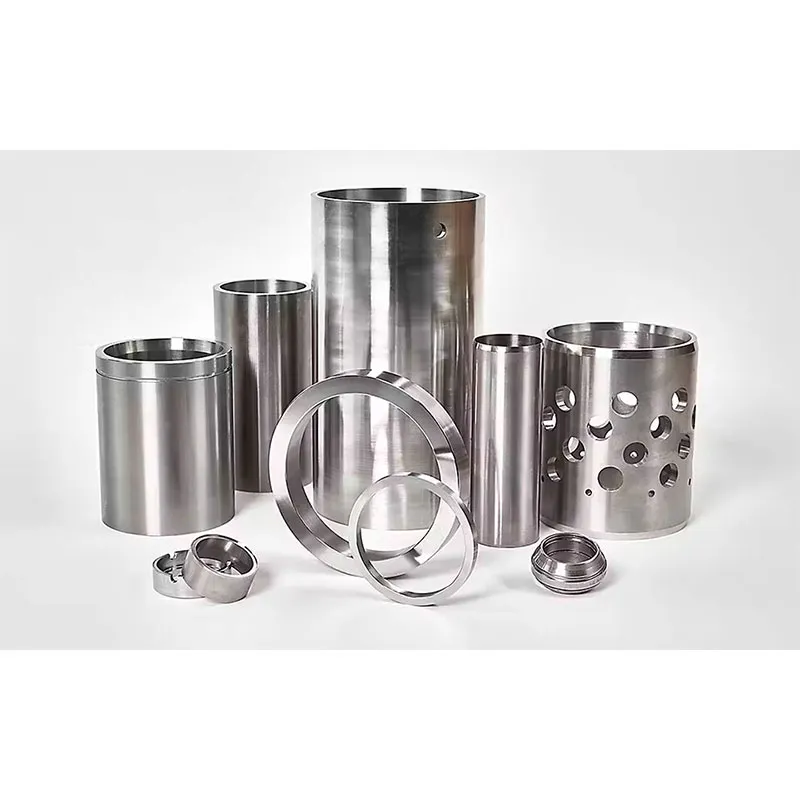
Companies like Qingdao Qiangsenyuan Technology Co., Ltd. (QSY) exemplify this industrial evolution. With over 30 years of expertise in the casting and machining industry, QSY has scaled the fundamental principles discussed in this guide into a sophisticated manufacturing ecosystem. Specializing in shell mold casting, lost wax (investment) casting, and CNC machining, they operate a massive 50,000-square-meter facility equipped with dedicated production lines for casting, machining, quality inspection, and packaging.
Unlike the limited material scope of most home setups, QSY works with a broad spectrum of materials including cast iron, carbon steel, stainless steel, and high-performance special alloys such as cobalt-based and nickel-based superalloys. Their one-stop customized service model supports diverse sectors ranging from agricultural and mining machinery to medical equipment, food processing, and petrochemicals. Having successfully collaborated with clients in over 20 countries, QSY demonstrates how the art of casting, when combined with decades of engineering refinement, can deliver critical components for global industries.
Troubleshooting Common Casting Defects
Even experienced founders encounter defects. Identifying the root cause is essential for improving future casts. Most issues stem from improper mold preparation, incorrect pouring temperatures, or poor gating design.
Porosity appears as small holes or bubbles within the metal. This is frequently caused by trapped gas or moisture in the sand. Ensuring the sand is properly tempered and the mold is thoroughly dried before pouring can mitigate this issue. Additionally, pouring too slowly can trap air in the cavity.
Cold Shuts occur when two streams of molten metal meet but fail to fuse because they have cooled too much. This indicates the metal was poured at too low a temperature or the pour was interrupted. Increasing the pouring temperature and maintaining a steady stream usually resolves this.
Misruns happen when the metal solidifies before filling the entire mold cavity. This is often due to thin sections in the design that cool too rapidly or insufficient metal volume. Designing parts with uniform wall thickness and ensuring an adequate amount of molten metal is prepared helps prevent misruns.
Warpage is the distortion of the part during cooling. Uneven cooling rates cause different parts of the casting to shrink at different speeds. Modifying the gating system to promote uniform cooling or adding ribs to the design can increase structural stability and reduce warping.
Advanced Techniques: Fluxing and Grain Refinement
As skills progress, hobbyists can adopt advanced metallurgical practices to enhance the quality of their DIY metal casting. Fluxing and grain refinement are two techniques that significantly improve the mechanical properties and aesthetic appeal of aluminum casts.
Fluxing involves adding chemical compounds to the molten metal to react with impurities. These reactions float non-metallic inclusions to the surface, where they can be skimmed off. Common fluxes for aluminum include chlorides and fluorides, though eco-friendly alternatives are becoming more prevalent in the industry.
Grain refinement alters the microscopic structure of the metal, making it stronger and less prone to cracking. Adding small amounts of titanium or boron to the melt creates nucleation sites that encourage the formation of smaller, more uniform grains. This process requires precise measurement and timing but yields parts with superior tensile strength.
Degassing is another critical step for high-integrity parts. Bubbling inert gases like argon or nitrogen through the melt helps displace dissolved hydrogen, the primary cause of porosity in aluminum. While specialized equipment is needed for professional degassing, simple tablet degassers are available for small-scale operations.
Frequently Asked Questions About DIY Metal Casting
Beginners often have specific concerns regarding equipment, costs, and feasibility. Addressing these common questions clarifies misconceptions and provides actionable guidance for starting a home foundry.
What is the cheapest way to start metal casting?
The most cost-effective entry point is building a simple propane furnace using a steel bucket, refractory cement, and a propane torch. Sourcing free aluminum scrap from recycling centers or old automotive parts further reduces material costs. Green sand can be mixed from playground sand, cat litter (bentonite clay), and water.
Can I cast steel at home?
While technically possible, casting steel is generally not recommended for beginners. Steel melts at approximately 1500°C (2730°F), requiring specialized refractory materials and intense fuel sources that exceed the capabilities of standard backyard setups. Aluminum and bronze are safer and more manageable alternatives.
How do I know when the metal is ready to pour?
Visual cues are primary indicators. Aluminum turns from dull gray to a bright, silvery liquid when ready. It should flow smoothly without sluggishness. Using a temperature probe is the most accurate method, aiming for roughly 700-750°C for aluminum to ensure fluidity without excessive oxidation.
Is 3D printing compatible with metal casting?
Yes, 3D printing is highly compatible, especially with lost PLA or lost foam techniques. Printers can create intricate patterns that would be impossible to carve by hand. In lost PLA, the printed pattern is embedded in sand, and the heat from the molten metal vaporizes the plastic, leaving the cavity behind.
What legal restrictions apply to home foundries?
Regulations vary by location. Generally, small-scale hobbyist casting is permitted in residential zones if noise, smoke, and fire hazards are managed. However, zoning laws may restrict outdoor furnaces or the storage of propane tanks. Checking local municipal codes and homeowner association rules is essential before setting up.
Applications and Creative Possibilities
The scope of DIY metal casting extends far beyond simple paperweights. Makers utilize this skill to fabricate replacement parts for vintage machinery, create custom automotive components, and produce unique artistic sculptures.
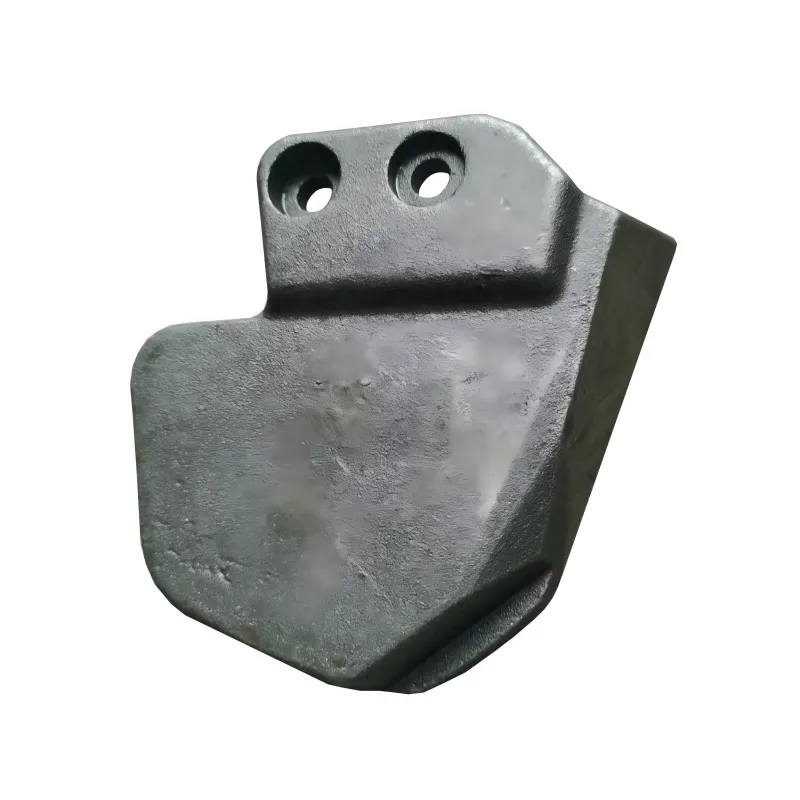
In engineering contexts, hobbyists often cast brackets, gears, and housings that are no longer commercially available. This ability to reverse-engineer and reproduce parts supports the restoration of classic cars and antique appliances, bridging the gap between obsolete supply chains and modern needs.
Artists leverage the medium to express complex forms in durable materials. From abstract sculptures to detailed figurines, the tactile quality of cast metal adds weight and permanence to creative works. The interplay of light on textured surfaces achieved through sand casting offers an aesthetic distinct from machined or 3D-printed objects.
Educational institutions also embrace metal casting to teach principles of thermodynamics, fluid dynamics, and material science. It serves as a hands-on laboratory for understanding how raw materials transform into functional tools, fostering a deeper appreciation for manufacturing processes.
Conclusion and Next Steps for Aspiring Founders
DIY metal casting is a rewarding fusion of art, science, and craftsmanship that empowers individuals to create durable, custom metal objects from scratch. By mastering the fundamentals of safety, mold preparation, and thermal management, beginners can unlock a world of creative and practical possibilities.
This guide has outlined the essential pathways for success, emphasizing that patience and attention to detail are just as important as the equipment itself. Whether the goal is to restore a classic vehicle, produce unique jewelry, or simply understand the alchemy of turning rock into liquid gold, the journey begins with a single pour.
For those ready to start, the recommended next step is to gather basic safety gear and construct a small-scale furnace. Begin with simple geometric shapes to build confidence in handling molten metal before progressing to complex patterns. Join online communities and forums dedicated to backyard foundries to share experiences, troubleshoot issues, and stay updated on evolving techniques.
Embrace the iterative nature of the craft. Every defect is a lesson, and every successful cast is a testament to skill development. With the right approach, DIY metal casting becomes not just a hobby, but a powerful capability to shape the physical world around you. And for those projects that outgrow the home workshop, remembering the standards set by industry leaders like QSY can inspire a commitment to quality that spans from the first backyard pour to large-scale industrial production.